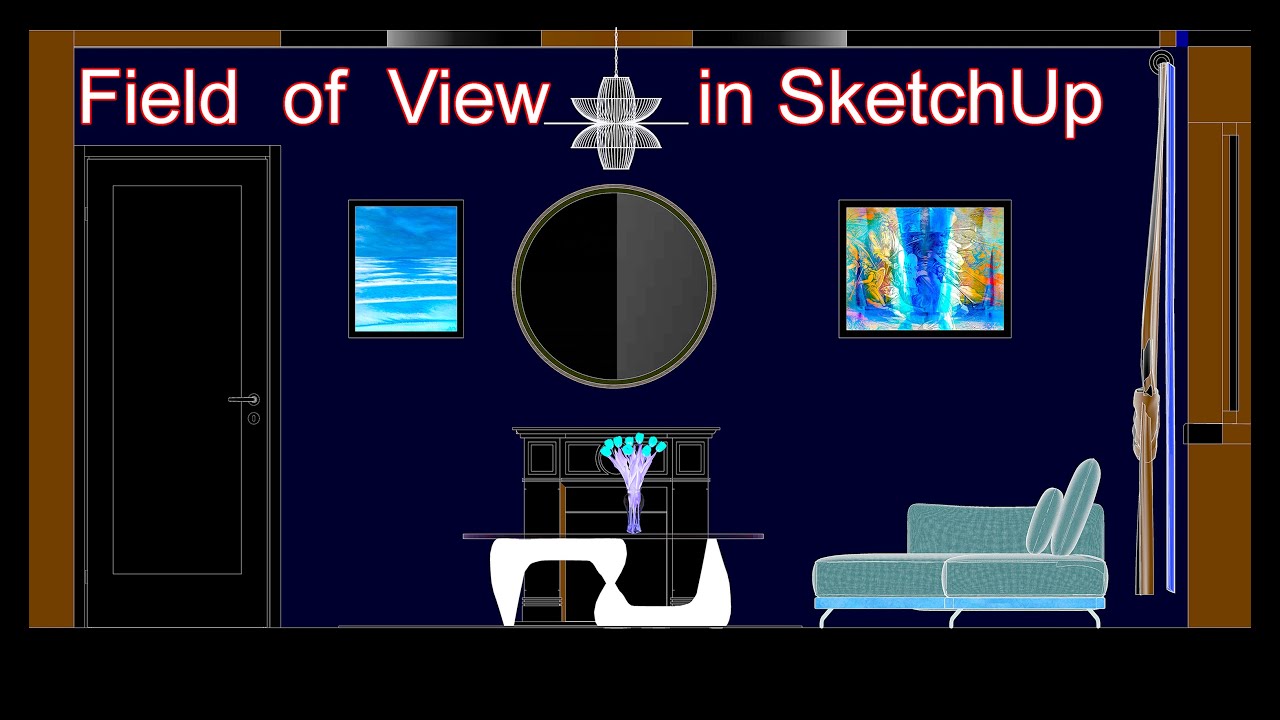
Field of View (18-08....) in SketchUp
In this short snippet let's talk about Field of View in SketchUp
This is because we usually face the issue from the beginning and then we start modeling ...
So, let's see how we can fix it...? In order to avoid similar issues in future.
And when you see Clipping in your Sketchup model, try to fix it with Field of View by changing degrees.
Which means you need to go Camera, click Field of View and when 35 degrees appears on the down left or right corner...
Let's Type 60 and Press Enter on Keyboard.
That's it. Pretty simple.
So, we now have more Vider and as you can see the better View...
Further, you can use Zoom Extents to see all your models at the center of the screen.
And if you want to see a room from, let's say Right Projection, simply select Right to move the Camera to Right View of the room.
When clicking on Zoom Extents.
Next, with Select Tool Click on Right View surfaces, and Press Delete on Keyboard. So, now you can see the Right view of this room.
And, that's it for now!
If you need a more consistent step by step explanation with demonstration via distance (Skype, Zoom, etc.) from very beginner to advanced level, please let me know by Email before one week.
Thanks for watching !
LT
Šiame trumpame fragmente pakalbėkime apie „SketchUp“ matymo lauką
Taip yra todėl, kad paprastai su problema susiduriame nuo pat pradžių, dažniausiai kai pradedame modeliuoti...
Taigi, pažiūrėkime, kaip galime tai ištaisyti...? Siekiant išvengti panašių problemų ateityje.
Kai „Sketchup“ modelyje pamatysite „APKIRPIMUS“, pabandykite juos ištaisyti naudodami matymo lauką keisdami laipsnius.
Tai reiškia, kad turite eiti į Kamera, spustelėkite Vaizdo laukas ir, kai apatiniame kairiajame arba dešiniajame kampe pasirodys 35 laipsniai...
Įveskime 60 ir klaviatūroje paspauskite Enter.
Viskas. Gana paprasta.
Taigi, dabar turime daug platesnį ir, kaip matote, geresnis vaizdą...
Be to, norėdami pamatyti visus savo modelius ekrano centre, galite naudoti mastelio keitimą.
Ir jei norite matyti kambarį iš, tarkime, dešinės projekcijos, tiesiog pasirinkite dešinėn, kad perkeltumėte kamerą į dešinįjį kambario vaizdą.
Spustelėjus mastelio keitimo arba Zoom Extents ikonėlę.
Tada naudodami pasirinkimo įrankį (Select) spustelėkite dešiniojo vaizdo paviršių ir klaviatūroje paspauskite Delete. Taigi dabar galite matyti dešinįjį šio kambario vaizdą.
Kol kas tiek!
Jei jums reikia nuoseklesnio žingsnis po žingsnio paaiškinimo su demonstravimu per atstumą (Skype, Zoom ir kt.) nuo labai pradedančiojo iki pažengusio lygio, praneškite man el. paštu [email protected] prieš savaitę.
Ačiū, kad žiūrėjote !
. . .
EN
2 D and 3 D Architecture and Various Product Concept Design.
Email directly: [email protected] to order your project.
Take a look at already Projects Done:
http://www.behance.net/kurslaukis
https://vimeo.com/734034462
https://creativepool.com/myprojects/
Work Terms:
30% - 50% upfront
50% at the completion of the order.
!!! Free Consultations ...
Text: +37060399838 ...only Text please, and I will text back.
. . .
ACCELERATED LEARNING - an Intensive Method of study.
The Fastest DISTANCE LEARNING Self-Education METHOD.
Design Programs specialization: AutoCAD, SketchUp, Vectorworks, 3ds Max, Revit, Photoshop.
At the end of every lesson you will receive Very Consistent Step by step PDF file for iteration and implementation.
Unending / long time Support. Absolutely FREE Consultations.
Email: [email protected]
The more you learn, the more you earn!
To SEE HOW Accelerated Method Works, you need to OFFER a payment. Price Negotiable on Request.
I guarantee it will be worth your time.

Информация по комментариям в разработке