Click for more info and reviews of this Westin Nerf Bars - Running Boards:
https://www.etrailer.com/Nerf-Bars-~-...
Check out some similar Nerf Bars - Running Boards options:
https://www.etrailer.com/fitguidets.htm
Click for more info and reviews of this Westin Nerf Bars - Running Boards:
https://www.etrailer.com/Nerf-Bars-~-...
Check out some similar Nerf Bars - Running Boards options:
https://www.etrailer.com/fitguidets.htm
Search for other popular Ford F-150 parts and accessories:
https://www.etrailer.com/vehicle/2016...
https://www.etrailer.com
Don’t forget to subscribe!
/ etrailertv
Full transcript: https://www.etrailer.com/tv-install-w...
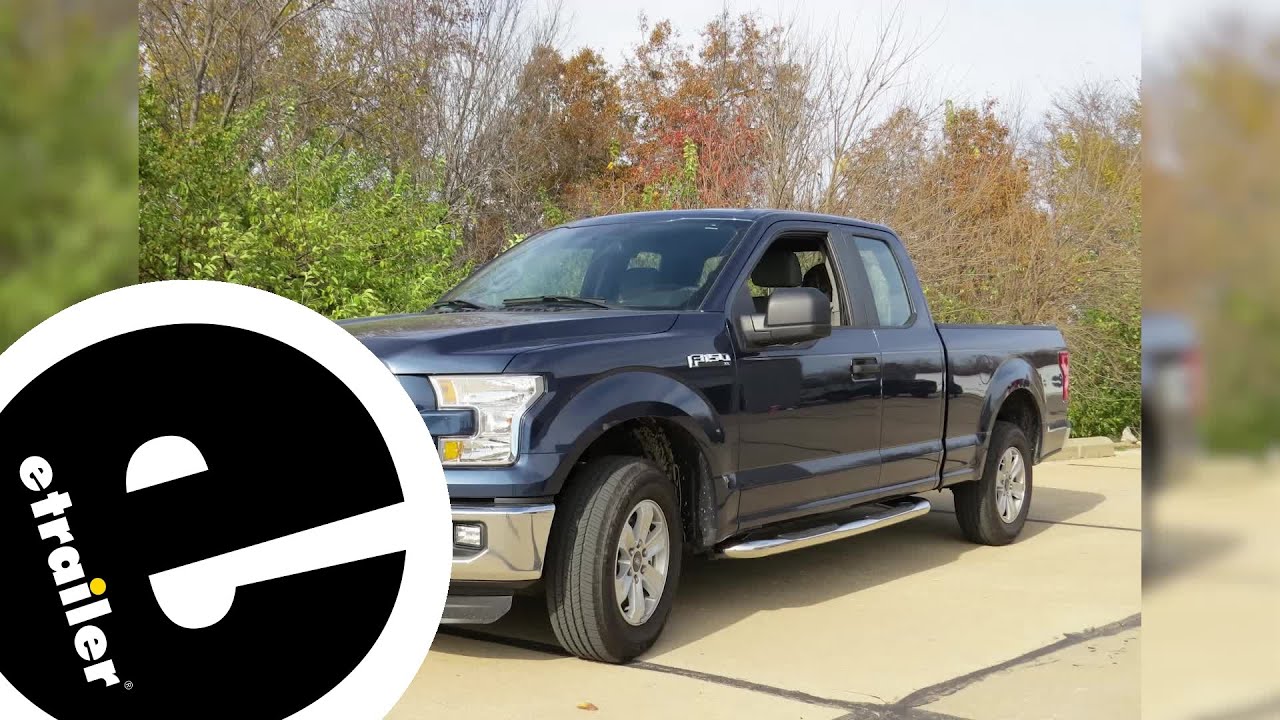
Today, on our 2016 Ford F-150, we're going to taking a look at the Westin E-Series Round Nerf Bars in polished stainless steel, part number 23-3930. These are also available in black, part number 23-3935. Here's what these tube steps are going to look like once they're installed on your truck. These steps are going to help make it easier to get into your truck, so you've got a platform to step on before getting all the way in. What's really nice about these is unlike other steps, such as truck bed steps or cab steps, these contour nicely to the full length of the cab of the truck. It maintains a very clean look with the polished stainless steel finish, and we've got nice large foot pads in order to step on, and they've got some pattern on them to help give you traction so you don't slip when they're wet. These nerf bars are nice and easy to install, as they mount to the factory mounting locations for running boards.
What I like most about these nerf bars is that they give you a good stepping point to help you get up into your truck, but they also maintain a clean look on the side of it. Now, let's go ahead and show you how to install these nerf bars. Here's everything that we're going to need to install our passenger side nerf bar, and the driver side's going to be the exact same stuff, it's just that the brackets are going to be opposite. Here we're going to have our main nerf bar, then we're going to have our brackets that are going to mount it to the rocker panel, and on each one they're actually stamped, and this one's got PR on it, for passenger rear, so the other one's going to have PF, for passenger front. Here we've got the hardware, we've got our half inch bolts, that are going to go into our nerf bar to secure it to the bracket. Then the lock washers and flat washers, and then here, for securing our brackets to the rocker panels, we've got these six plastic poly-retainers that are going to go over the factory M8 welded bolts that are on the underside of the rocker panel.
These are going to be really important, because on this F-150 it's got an aluminum body, but our brackets are steel, so those dissimilar metals can rust and corrode if you don't put those on there. Then we've also got our six nuts, split lock washers, and flat washers, in order to secure our brackets to the truck. The tools that we're going to need for this installation are a half inch socket, a three quarter inch socket, a ratchet or a powered driver, and then a torque wrench, to make sure that they're torqued to the proper specification. Down here, on the underside of our truck, on the passenger side at the rear of the cab, the first thing we're going to need to do is locate our factory weld bolts. Once we've located our three studs, what we'll need to do is on each one take one of our plastic retainers and get that threaded on there and pushed down so that it's flush with our rocker panel. Again, you do want to be sure that you have these on here, so that you don't get that rust and corrosion that can damage the steps and the body of your truck.
Then we'll move up to the three studs for the front bracket, and install our retainers there, as well. Now we'll take our bracket that has the PR on it, for passenger rear, and we'll get our three holes lined up with the studs and the rocker panel. Once we've got it up in place, on each stud we'll put a flat washer, lock washer, and then we'll get the hex nut just started by hand. Now I'll take our front bracket for the passenger side, the one labeled PF, and put it up into position, and install flat washer, lock washer, and nut on each one, just like we did on the rear bracket. Now I'll take one of our half inch bolts, put on a split lock washer and flat washer, and then we'll take our nerf bar labeled for the passenger side, and line it up with the hole, there, and then begin threading in our half inch bolt. Then we'll do the same thing up here, for the front bracket. Now, using our half inch socket, we'll start by tightening our half inch nuts onto our eight millimeter studs that are welded in from the factory.
Then we'll use the torque wrench and torque them down t

Информация по комментариям в разработке