Click for more info and reviews of this ClearVU Backup Camera:
https://www.etrailer.com/Backup-Camer...
Check out some similar Backup Camera options:
https://www.etrailer.com/truck-bed-ca...
Search for other popular Ford F-150 parts and accessories:
https://www.etrailer.com/vehicle/2020...
https://www.etrailer.com
Don’t forget to subscribe!
/ etrailertv
Full transcript: https://www.etrailer.com/tv-install-c...
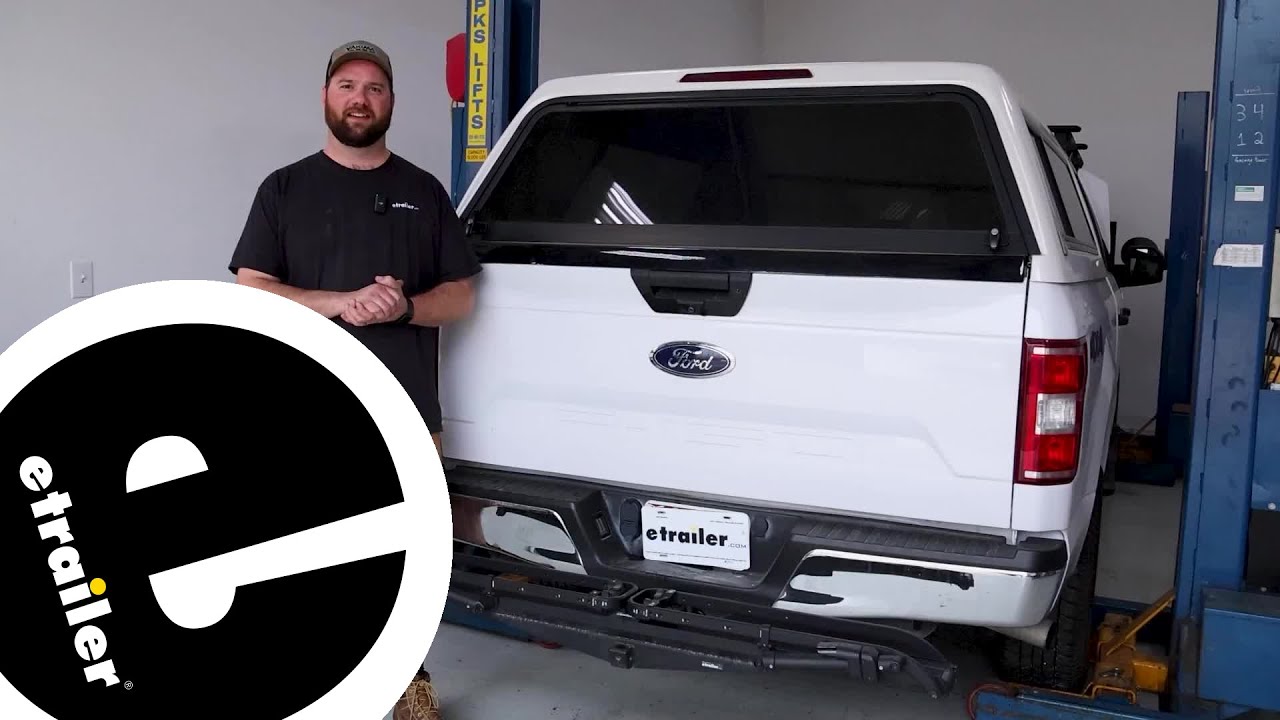
Hey guys, it's Jake here with etrailer. Today we have a 2020 Ford F-150, and we're gonna be taking a look at and showing you how to install the ClearVU Camera Cleaning System. This system is designed to clean your camera so that you don't have to get out of your vehicle in order to do it. We all know the frustrating fact of that when you're driving around on the road, whether it's during the winter, during the summer even, if you're driving down a gravel road that's dusty, this rear view camera, what'll happen is all the dirt and the debris from the roads is all swarming behind your vehicle, and it just starts to cake up that lens. Well what this is designed to do is when you go to back up into a spot, and you see that you can't see very clearly out of your rear view camera, this is going to clean it off. You just hit your windshield wipers, it's gonna tie right in with that line, and it's gonna clean your camera off, and you'll be able to see just fine.
You can see here our camera is completely unusable. We'll hit the wiper blades, and you can see perfectly clear again. Now as far as the installation goes, it's really not too bad of an install. I'd say you could probably have it done in maybe an hour or so. You will have to take the plate off the inside of your tailgate.
You'll have to remove your tailgate handle itself. But all of those things are pretty easy to do. I'd say probably the hardest part about this if you're doing it from home is going to be running the hose from the tailgate up to the front of our vehicle 'cause we need to tap into the factory windshield wiper, the washer fluid. But with that said, let's go ahead and show you how to do it. To begin our installation, you'll want to take a T25 Torx bit, remove the eight screws that are holding our tailgate plate on the inside.
(screwdriver buzzing) In your kit, you're gonna get this drill template. You'll notice that it has this tiny little hole in it. That's the hole we're gonna end up drilling for our spray nozzle to actually get installed in. This is just a pilot hole. But you'll notice that it'll go around our rear view camera just like this, and it fits perfect.
Now it looks like you can put it both ways, but that's what taking this back panel of our tailgates off is gonna help us identify. So our hole, we've got it lined up on the passenger side. It's gotta be on that side 'cause there is a wiring harness on the other side of our camera. So we're gonna take our screwdriver here and just put a little mark. That'll give us the spot so we can drill right there. We'll take a pilot drill bit and just drill our hole straight in. (drill buzzing) Then we'll take a 21/64 drill bit and drill out our final size. (drill buzzing) Now we can just check for fitment. We see that it works perfect there. And we're just going to get this assembled on here. You'll want this piece in the tailgate like this. And then we're gonna put a nut on the backside. Now because of where our hole came out at, you can see that down in this hole, this opening, it's so difficult to get down in there with our nut and then get our hose assembled to it. So what I'm gonna do is I'm gonna just pop this latch assembly loose from here and try to get the handle pulled out the back side so that I can get all this assembled, and then just put the handle back up. Now that we've got our handle assembly out of here, we're just going to slide our nozzle through. And then this might be a little tight in here. If we just bend it at an angle, you should be able to spin this nut into place. When you're snugging this nut down, you wanna make sure that your nozzle is pointed at your camera 'cause once it's tight enough, you're not gonna be able to spin it. And we'll take our hose while we got our handle off. This is gonna make it much easier to slide this over. Just slide that over that. Now with this attached, I'm going to feed this tubing back into our tailgate, and then we can reconnect everything and get our handle back in place. Now we need to put our check valves in place. You'll see that they both have arrows on them. You want the arrows pointing towards that nozzle we just put in. So what I'm gonna do is I'm going to leave enough space here so this can be looped 'cause I'm eventually gonna zip tie it to this rod. I do know that the rod mov

Информация по комментариям в разработке