Click for more info and reviews of this Pollak Custom Fit Vehicle Wiring:
https://www.etrailer.com/Custom-Fit-V...
Check out some similar Custom Fit Vehicle Wiring options:
https://www.etrailer.com/dept-pg-Cust...
Search for other popular Ram 1500 parts and accessories:
https://www.etrailer.com/vehicle/2019...
https://www.etrailer.com
Don’t forget to subscribe!
/ etrailertv
Full transcript: https://www.etrailer.com/tv-install-p...
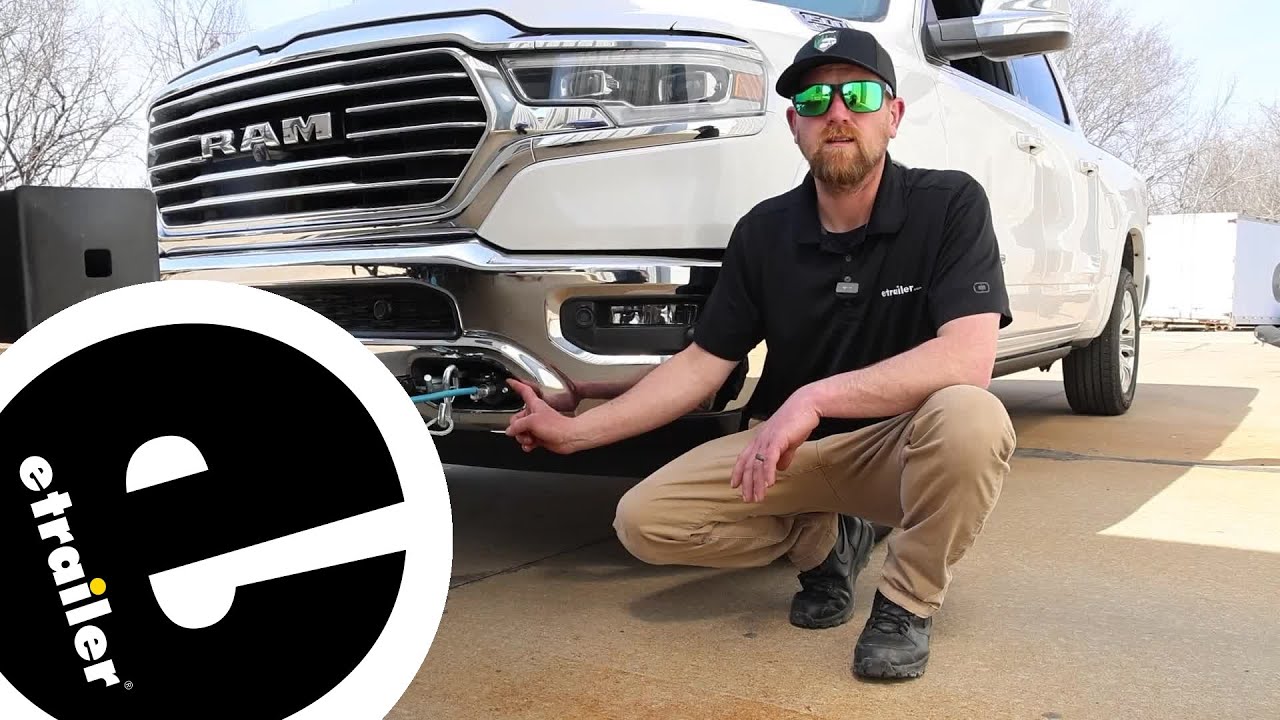
Hey everyone, Ryan here at etrailer. Today on our 2019 Ram 1500, we're gonna be showing you how to install the Pollak 6-way Round Trailer Connector Plug. But before we do that, let's just take a minute, check this out and make sure it's gonna work for you. So with these 6-way round plugs, it's going to be a great replacement to your existing one or even you know, the original one that you're gonna start out with. So if your tow bar wiring kit didn't come included with one of these, you can always use the Pollak here, get it hooked up and get all your signals sent back to your taillights. With this connector, it's right on par with a lot of the other ones out there.
And being that 6 way round connection, this is gonna be by far the most common type of connector plug when it comes to setting up a flat tow. You know, pulling your Ram behind your motor home. And you know, if you end up using the 6 way round, this is the type of connector end you'd want on the wiring side of things. This particular one is Curt Coiled Cable. There's a ton of 'em out there.
You got Blue Ox ones, Roadmaster ones, Demco ones, so on and so forth. So extremely common in the flat towing world there. And plug that right in the bottom of the cap since it is spring loaded, it's gonna have a little catch on it there, which you see in just about all these type of connectors. That way when it's sitting down and you're plugged in, you can't accidentally disconnect this. Now the body of this is made from plastic so you're, you know, it's good and bad I guess you could say really, because you're not gonna have to worry about corrosion issues or anything along those lines.
But if, you know, you're always on really rough, you know, roads or, or take your truck through, you know, off-roading or anything like that, might run into issues with this cracking or anything. But if that's something you're concerned with, there's a lot of these that are available that are built for metal as well. So always something you could look into. Figured we take a quick look at the back of the plug, just to kind of show you what's going on and really not a whole lot to these as far as this one goes. One of the things that I like about it is that the terminals are gonna be brass, which compared to a lot of the other ones are made from a different material and it seems like this brass tends to hold up against corrosion and stuff a little bit better over the years.
But that's just my experience and something I noticed too, so this one I'm holding to compare it to is made by Blue Ox. Very, very similar, just the small differences. Something I noticed too that on the Pollak one, the set screws are thicker in diameter compared to a lot of the other ones, which are pretty thin. So in my opinion, having that thicker set screw is gonna do a better job of kind of biting down onto that wire and keeping that connection good. Speaking of the connection though, why don't we go ahead and show you how to get this hooked up. We have all the wires ran for our diode wiring kit as well as our battery charge line kit. That's what all these are right here. And first thing that we'll do, we'll take the rubber dust cover that comes with our plug, put that over the bare end of the wires, I'm just gonna kind of tuck that out of the way and you're gonna wanna strip all those wires back. So the way you would do that, just remove a little bit of the insulation and you want to give those wires a good twist, make sure they're nice and tight. And then from there, it's just hooking up the plug. So if you look at the plug, they're gonna have labels on 'em. So TM would be taillight signal. So our brown diode wire will go there, GD for ground, so the white diode wire goes there, LT is left turn, yellow wire plugs into that, RT is right turn, so the green wire goes there. And then for our charge line, we're gonna plug that into the center auxiliary power post. And so the way these will work is you just back that set screw out almost all the way and you take the appropriate wire, trying to make sure none of the wires get kind of pushed up here. Let's take that, place it into the terminal, kinda hold it in there tight and snug down that set screw. We'll do the same thing for our remaining wires here. Here'

Информация по комментариям в разработке