00:00 My little wee 🫡
00:23 My concerns for the project
01:06 a wrinkly tip! 💡🍆
01:57 Lighting the Subject (Further explaining the situation)
03:59 Lighting the Greenscreen 🔦
05:34 Camera Stuff 🤓🏳️🌈
09:05 Zoom F6!
09:07 The Teleprompter setup
10:05 Yappin about Admin 😮💨
10:45 Back to the setup - we film you! - Very immersive! wow
11:35 our tip is looking good! 🥉🍆
11:55 Keying Tutorial
12:29 Wrapping things up. 🍆
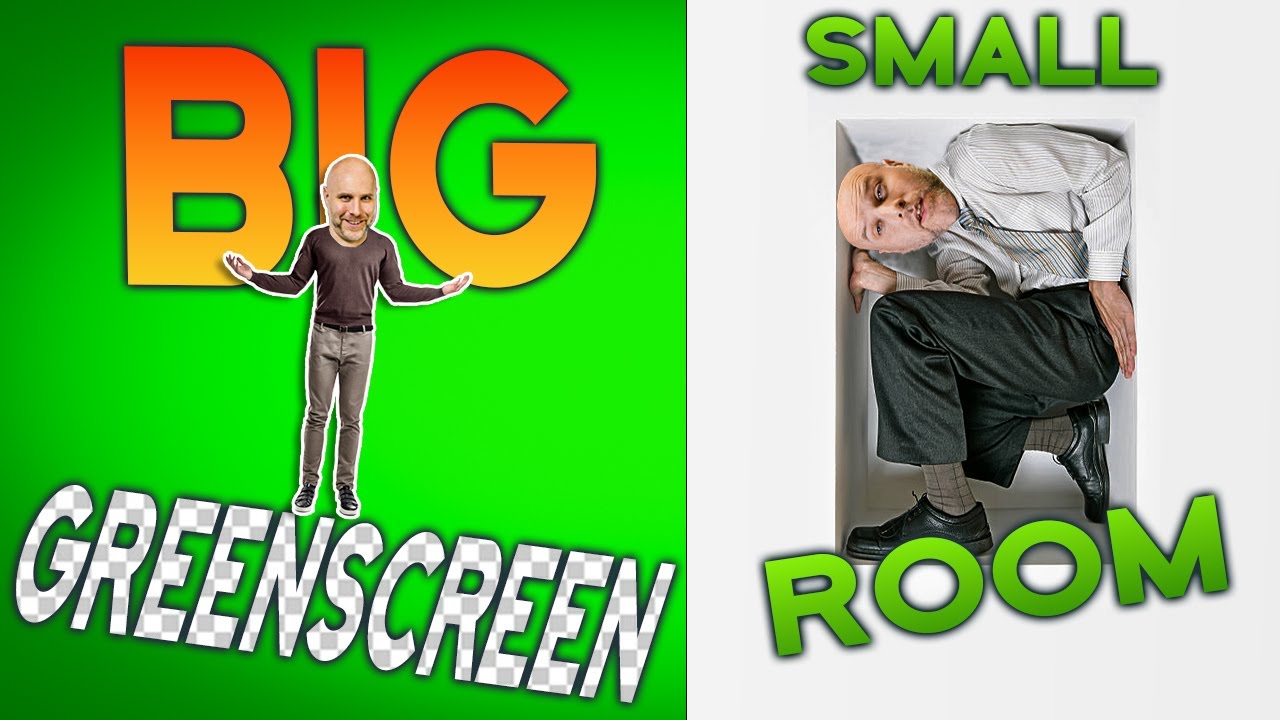
Green screen or blue screen (It can be whatever color as long as it creates color contrast between the subject and background- perhaps your subject is not human) shoots can be game changers for creating live-motion projects involving custom backgrounds or for compositing in special effects worthy of your mom. Shooting with a green screen involves filming something in front of a solid color. Then, by digitally removing or “keying out” that color, you can drop that scene onto the background of your choice in post-production. Removing the colored background is also referred to as “chroma keying.” Example: She "chroma keyed" my car after we broke up.
Lighting your green screen properly is the "key" to easy “keying.” Yuk, yuk. Derpy derp. Shooting on a green screen can save you time and resources, but only if you get gud, n00b. Make sure your green screen is as flat and smooth as possible. Then, concentrate on lighting your green screen evenly.
A common mistake is lighting the screen and the subject together. For a colored background or “chroma” that is easily keyed out, light your screen first. - I, however, did not do that.
“It needs to be as evenly lit as possible at about 40 to 50 percent luminance,” says Big Movie. "Aim for diffused, nondirectional lighting that hits your screen from above. You will need multiple high-quality lights set up just to light the room and screen." - I, however, did not do that.
Try measuring the lighting on your screen with a waveform monitor; you’ll know the green screen is lit well when you see a flat line going across the monitor. -I, however, do actually do that most times.
The best types of lights for green screen footage.
(Ignore this, I just used a Hexolux, and a shop light, but I need to stuff keywords below)
Two 1000-watt lights for lighting the screen itself and a method for diffusing, like softboxes, to put around them. Next, get a 650-watt light and a 500-watt light, again with diffusion through a softbox or even white bedsheets. These should be used to light the subject of your video. You may also want to use a BLUE hair light to create a sharper line between your subject and background.
Prepare your subject for the green screen.
Knowing what type of footage you’ll be using for your new background will tell you how best to light the objects or people in front of your green screen. Example: If there’s sunlight from the left in the background shot, and you lit them from the right side. There’s no way to make those two things look right. Because left.
Have as much space between the subject and the green screen as possible.
Keeping your subject as far from the green screen as possible will help you accurately mimic the lighting in your new background clip. Plus, it will help prevent green tones from spilling off the screen and onto the edges of your subject. Aim for about 10 to 15 feet of distance between your subject and the screen.
Remember, if it’s green, it’s going to go away.
I’ve seen people show up wearing khakis that are slightly greenish. What happens is they look semi-translucent. Mirrored or reflective objects can also be a problem. Bring makeup powder to get rid of shine on the face or head. or Pro-Matte gel.
Lock in your content before keying out the footage. Do a complete a rough edit. You don’t want to spend time doing these complex tasks on frames that won’t make the final cut. pro.
Once your footage is narrowed down, use the Ultra Key tool in Adobe Premiere Pro to key out the background. Open the Effects panel and then the Ultra Key tab. Use the Eyedropper tool to choose your key color. If you did it right, this will do most of the work for you. Otherwise, adjust the sliders labeled Matte Generation, Matte Cleanup, Spill Suppression, and Color Correction. These will tweak the way in which your key is being removed.
Make any necessary adjustments to the new background you are adding to your video. Example: If you’re shooting a close-up interview, add some depth of field by making the background slightly soft.
On location green screens are a thing. You can use these to shoot keyable footage on the go. Hold the pop-up screen (or whatever) behind the person or object you want to shoot. In your video editor, cut a simple matte (called a garbage matte) between the person and the edge of the green area, and remove the background beyond the line of the matte.


Информация по комментариям в разработке