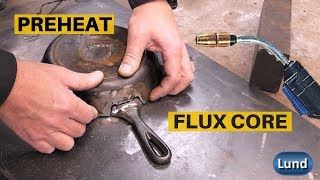
In this video I will be showing you how to fill holes in metal by welding. For this I’m using the rear plate of the lawn tractor as an example. I’m working on a rear bagger setup for this lawn tractor. The previous owner had some drilled holes for attachment which I’d like to fill up. I will be using a fluxcore mig welder for this. #fluxcore #welding #weldingtips
The thickness of steel will affect how well it’s able to handle the heat such as burning through or warpage. With this being a thicker material, it’s easier to work with. I’m using 0.035” fluxcore wire, the thinnest version of fluxcore wire is 0.030” and that would be recommended for thinner materials as you can control the heat better.
First is cleaning up the piece, preparing it for welding. My layout tape was removed along with a sticker.
For removing any light surface rust or paint, I’d recommend using an abrasive pad. This won’t remove any metal material and can clean up the surface great. For excessive rust, a wire wheel or flap wheel would be best to ensure you have a properly prepped surface with minimal chance of impurities which would create pinholes.
Do this for both sides of the piece. If you are working with a vehicle’s body panel, be extremely careful with the grinder as this too can create excessive heat warping the panel.
To clean out the inside of the hole, a rat tail file, burr bit, stone, or even drilling it up to the next size will be fine. Make sure you have a clean spot for your ground clamp too.
Now for a backer, this is by far the easiest way to prevent the hole from becoming large and making a clean repair. I’m using a thicker piece of cooper, about 3/16 to 1/4 works perfect for this.
Firmly clamp the piece in place, may sure it’s roughly centered over the area you’re welding. The puddle won’t stick to the cooper, it does work great as a heat sink, it won’t burn up, and you’re able to fill the hole without making it bigger.
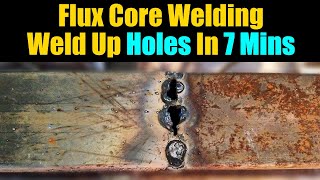
Next is welding the piece. Make sure you are wearing the appropriate safety gear for welding, I do have a video for this. Heat ranges and wire feeds will vary depending on your machine, wire thickness, and material thickness. I typically like to start from one side of the hole, weave back and force and I come to the larger part of the hole and then finish up. In the end, if you finish too quickly you may be left with a small pocket which I did run into.
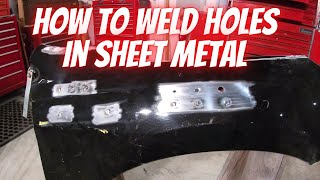
If you’re working with a thinner gauge metal such as found on body panels, short tack welded would be recommended instead as this will keep the heat down reducing the chance of warpage.
Inspect the repair, if you find pockets, that’s not an issue as you can clean up the surface if it’s fluxcore and add more weld. There was some damage at the bottom which I filled up too. The copper back will give a smooth finish on the backside.
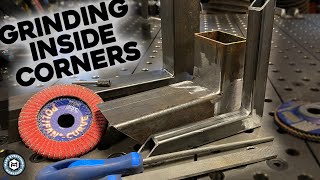
Depending on the material, you can use a grinding or flap wheel to smoothen out the surface. Again, watch the heat when knocking down those high spots as it can great excessive heat warping a panel.
When done grinding and if any filling was required in between, this is what you’ll be left with. The outside is smooth, I didn’t spend as much time on the backside as it won’t be seen.
After that, the piece was then prepped for paint such as degreasing, sanding, and then primer was applied.
The primer was sanded before paint and no filler was applied. How much time you’ll invest in something such as this will depend on the final finish. You can see some deformation at the bottom, this wasn’t the holes I patched but rather the damage from the previous owner. I’m assuming from a hitch.
After that was putting the plate back in place and then was installing the bagger bracket.


Информация по комментариям в разработке