A great beginner video on how to make, scan, and digitize your collage.
What you would need to create your own collage:
1. Magazine scraps + junk/tangible stuff you'd find in your house
2. Scissors + X-Acto Knife (optional item: paper cutter)
3. Scanner (or free: use your phone's scanning apps)
4. Adobe Photoshop (or free: Keynote desktop app + Alpha Mask!)
- - - - - - - - - - - - - - - - - - - - - - - - - - - - - - - - - - - - - - - - - - - - - - - - - - - - - - - - - - -
[English Transcript:
Welcome to the Julp Co. Today, we will be making, scanning & digitizing collage.
In here, we are no strangers to silly mistakes. Oof!
In here, we also laugh it off. And try again.
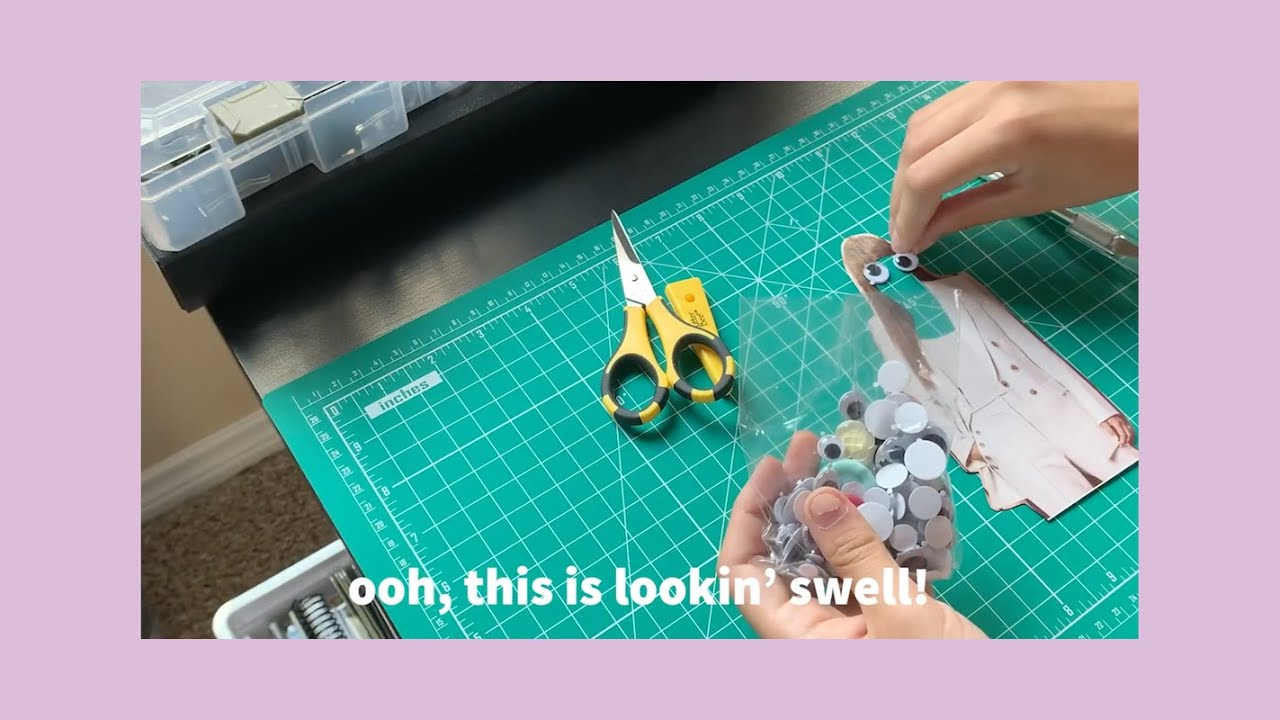
Dig in and pick out what seems appealing to you. Some fabric ribbons. Googly eyes, my favorites! Play around with layering. There’s no one way to do collage.
Oof!
There, there.
Peek-a-boo!
Time to go into the scanner. For the best results in ‘freehanding’ prior to Photoshop, put each layer away from each other when scanning, (or you could stack ‘em up, which means you wouldn’t have much freehanding option in Photoshop).
Testing, testing. Look at you go off, sis! I love zoomin’ in to make sure the quality is top notch (otherwise, tune up your DPI in the scanner’s settings dialog). You could also see the difference in each material in this photo!
Use your Mac’s finder to ‘Open With Photoshop’ if you’re not fussy about document sizing. (Cuz I sure am not.)
Always ensure to ‘duplicate’ your original layer as a back-up! Then hide the original layer… we hope we won’t need to cross paths this time.
Head over to the ‘quick selection’ tool, where you’ll meet your new best friend. Oh wait, let’s use the ‘magic wand’ tool! Click and hold on the icon to find the drop-down.
Click on the white background, and use the ‘delete’ key. I think I am lost, where was I? Oh right, let’s make a ‘new layer’ where we can throw in some geometric shapes.
You’ll grow to love the ‘eyedropper’ tool. And use your recent color with the ‘shape’ tool. Make a good habit to use the ‘select’ cursor (V key). Go all bizarre!
Let’s try out the ‘brush’ tool.
File - export - quick export as PNG.
On a second thought, why don’t we try to do some basic GIF movement? Window - workspace - motion. See this ‘create frame animation’ below? You’re in the right place!
Select the layers that you want to group together and use ‘new group from layers.’ This will be your first frame, yoo-hoo!
Then ‘duplicate’ the ‘Frame 1’ group and ‘rename’ it to ‘Frame 2.’ ‘Rotate’ your ‘Frame 2’ group as a whole by using ‘free transform’ (cmd + T).
Let’s do this again! ‘Duplicate’ the ‘Frame 2’ group and ‘rename’ it to ‘Frame 3’. ‘Rotate’ your ‘Frame 3’ group as a whole by using ‘free transform’ (cmd + T), again.
One more? Ok, last run.
Now, we have four separate groups with a tilted movement in each. Go to your ‘Frame 1’ group and add it to the timeline.
Oof! We can’t see the bottom left screen on here. But you get the idea! Each frame should be alternated through each Frame 1, 2, 3, and 4 group.
Select all frames in the bottom timeline, and you can adjust the timing.
File - export - save for web (legacy). Double check the file format - GIF (!!!). Click ‘save’... let’s see how it goes!
I saved it in the desktop, so let’s go there! Click on the file, and ‘press’ the spacebar.
Oof! I forgot to check and erase all of the edges before duplicating.
BONUS FOOTAGE (!!!).
In here, we also try to use every material to greatest extent possible. Because I dig her suit, I’m gonna keep it. You can use a X-acto knife on a cutting mat.
Ooh, this is lookin’ swell! Have a googly day!
@jamileehoglind *and raising the office morale one at a time.*]
- - - - - - - - - - - - - - - - - - - - - - - - - - - - - - - - - - - - - - - - - - - - - - - - - - - - - - - - - - -
Follow @thejulpco on Instagram for design hacks, handpainted thrifted pieces, and collage artwork on / thejulpco .
(Bonus: My content is always subtitled and transcribed. It's not unusual if it's nuttier over there on my Insta! Keeping' it authentic, baby.)


Информация по комментариям в разработке