How to fix motherboard not posting after BIOS update on Windows PC
How to fix motherboard not posting after BIOS update on Windows PC
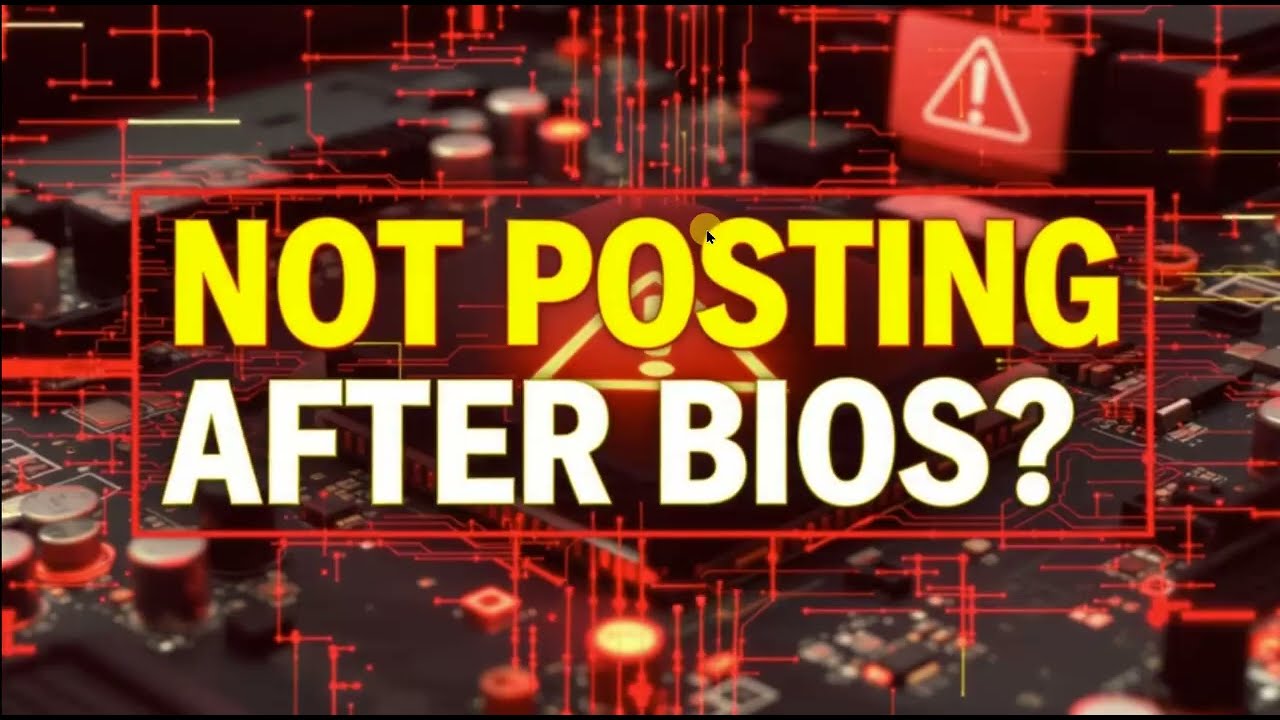
Is your PC failing to boot or stuck on a black screen after a BIOS update? This comprehensive guide shows you how to fix a motherboard not posting, resolve BIOS update failures, and get your Windows PC running again. Whether you are facing a bricked motherboard, CMOS errors, or a system that powers on but shows no display, we walk you through essential troubleshooting steps. We cover how to reset CMOS, use BIOS Flashback features, reseat hardware components, and recover a corrupted BIOS. This step-by-step solution helps you diagnose hardware initialization issues, clear motherboard errors, and restore your system's stability after a failed firmware flash.
In This Video We Will See How to Fix Motherboard Not Posting After BIOS Update on Windows PC
Here Are The Steps to Fix Motherboard Not Posting After BIOS Update on Windows PC
Method 1: Clear CMOS (Battery Method)
1. Turn off your PC and unplug the power cable
2. Open your computer case
3. Locate the small silver coin-shaped battery (CR2032) on the motherboard
4. Carefully remove the battery using a small flathead screwdriver or your fingernail
5. Wait for 1 to 5 minutes
6. Reinsert the battery firmly back into its slot
7. Plug in the power and turn on your PC
8. Done!
Method 2: Clear CMOS (Jumper Method)
1. Turn off your PC and disconnect power
2. Locate the "CLR_CMOS" or "JBAT1" pins on your motherboard
3. Use a screwdriver or jumper cap to bridge (touch) the two pins together for 10 seconds
4. Remove the screwdriver or jumper
5. Reconnect power and boot the system
6. Done!
Method 3: Use USB BIOS Flashback (If Supported)
1. Use a working computer to download the correct BIOS file from the motherboard manufacturer website
2. Rename the file according to the manufacturer's instructions (e.g., MSI.ROM or GIGABYTE.bin)
3. Format a USB drive to FAT32 and copy the BIOS file to it
4. Plug the USB into the specific "BIOS Flashback" port on the back of your PC
5. With the power supply on but the PC turned off, press the BIOS Flashback button
6. Wait for the LED light to stop flashing (usually takes 5-10 minutes)
7. Once the light stays off, restart your computer
8. Done!
Method 4: Reseat RAM and Components
1. Turn off the PC and unplug it
2. Open the side panel
3. Push the clips on the RAM slots to release the memory sticks
4. Remove the RAM and firmly click it back into the slots
5. Ensure the GPU and all power cables (CPU 8-pin and Motherboard 24-pin) are tightly connected
6. Plug the PC back in and attempt to boot
7. Done!
Topic Covered:
motherboard not posting after BIOS update, fix failed BIOS update, PC won't boot after BIOS flash, black screen after BIOS update, how to clear CMOS, BIOS recovery steps, motherboard no display fix, bricked motherboard recovery, reset BIOS settings, CMOS battery removal guide, BIOS flashback tutorial, Windows PC boot issues, motherboard troubleshooting, fix corrupted BIOS, PC turns on but no BIOS, flash BIOS with USB, ASUS Gigabyte MSI ASRock BIOS fix, motherboard hardware reset, recover from failed firmware update, PC stuck on black screen.

Информация по комментариям в разработке