In this episode, we walk you through how to fix the Super Famicom Super Game Boy clock speed issue with a $15 mod from Qwertymodo.
Earlier in 2022, I installed one of Qwertymodo's clock speed mods into my Super Nintendo Super Game Boy, which has been amazing. It corrects the slightly faster clock speed of the original Super Game Boy, which tends to run 2.4% faster than the original hardware. After I did that mod, I actually picked up a Super Game Boy for the Super Famicom, and I was excited to make the exact same modification. I also picked up a new video microscope, different from the original one that I had, and this one actually records footage properly. Hence it was time to heat up the soldering iron, roll up my sleeves, and get to work.
Please note, that this is less of a tutorial and more of a step-by-step how I installed this. I also do not offer a service to install these. For that, check out the excellent Voultar at • The Super Game Boy | Fixing Nintendo's Dir...
Chapters:
00:00 - Introduction
2:41 - Disassembly of the Cartridge
5:28 - Desoldering & Removing The Surface Mount Capacitors
9:18 - Soldering The Mod Board Into Place
12:06 - Cleaning The Board After Soldering
12:53 - Inspecting and Cleaning The Cartridge Pins
14:03 - Cartridge Reassembly
16:22 - Testing the Mod
17:45 - Conclusion
Opening up the Super Game Boy, you'll need a 3.8 mm game bit to remove the four screws. Or in my case, three as one of the screws was missing on my system. Oh well, made it easier to get into it! Once inside, there are two Philips head screws that hold the board down to the case that you will need to remove. From here, flip over the board as it's time to get to removing components.
Before you can install the mod board, you'll need to remove three surface mount capacitors. R1, R7, and C15 all need to come off before you install the mod. Just tin your soldering iron, apply some heat to each of these components and they should all come off rather easily. If they get stuck in place, as R1 did for me, tweezers or hemostat can help you remove them.
Once you have these components removed, we're ready to install the board. Qwertymodo continues to revise his design, making it better and better. This one is slightly different than the original one I installed as there was no capacitor hanging off the left side of the board. The cleaner the better! I did take my Xacto knife and scratched up the pad where the lower left solder joint will be connected. This simply makes adhesion easier when I'm soldering. I did have to solder the point on the right-hand side to the surface mount capacitor a second time as I had a cold solder joint originally. With this addressed and everything soldered into place, it was time to reassemble the cartridge and test it out.
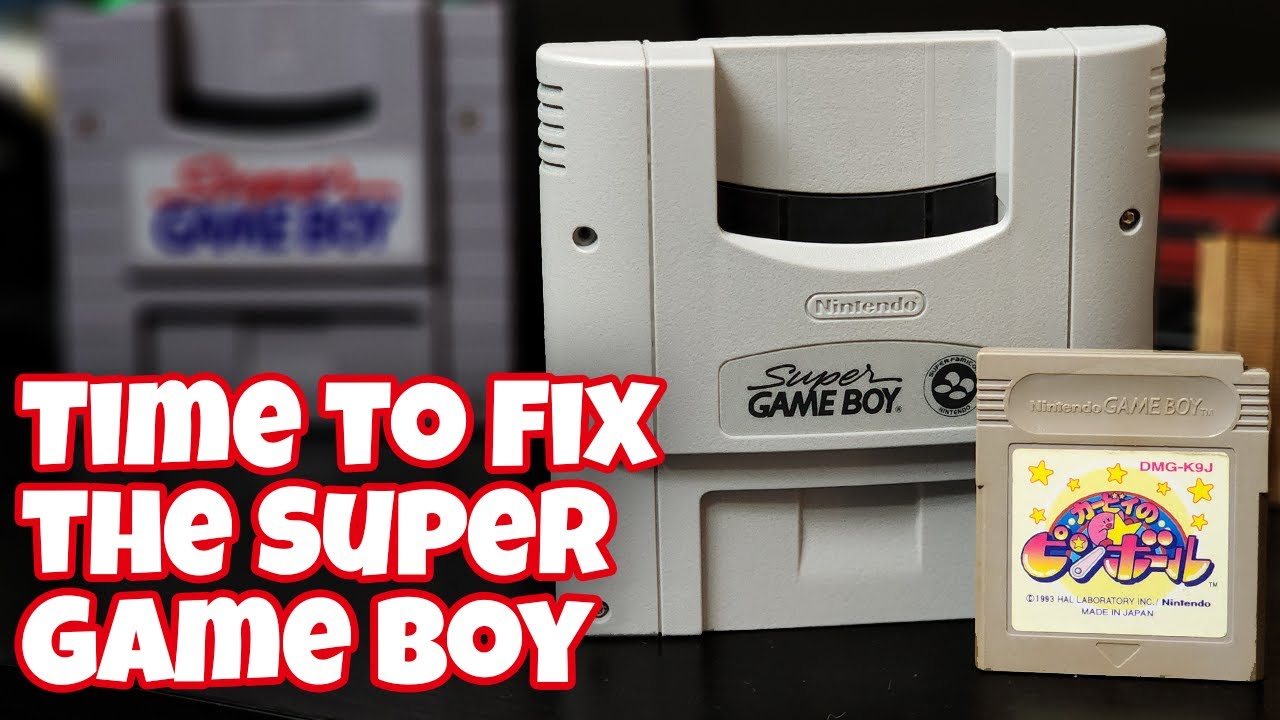
I don't have many Japanese Game Boy games, one that I do have is Kirby's Pinball. I inserted it into the Super Game Boy, installed the entire works into my Super Famicom, and flipped on the power. It came right to life, with cheery music and everything. One of the wonderful things about the Super Game Boy is that it is region-free, so my NTSC-U USA games will also work through my Super Famicom's Super Game Boy, just as the Japanese games will play fine through the USA Super Game Boy for the SNES.
Why it RoX:
Under $20 with shipping
Fairly easy to install
Works as advertised
Continuing refinements lead to even better products
What could be improved:
Nothing comes to mind
Should you buy one?
If you have the most basic of soldering skills I'd say this is an easy gotta-have. It just works, and it's easy to install too. You don't need the microscope as I showed you, that is simply for demonstration purposes, but I am thoroughly impressed with the quality of the mod and the ease with which it installs. I cannot recommend this highly enough and appreciate Qwertymodo's hard work towards fixing something Nintendo broke over 30 years ago.
#SuperGameBoy #SuperFamicom #VideoGames #ModWork #Qwertymodo

Информация по комментариям в разработке