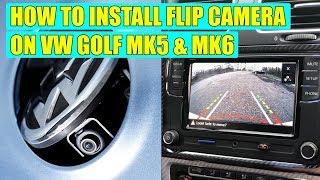
How to install the VW flip badge rear view camera on a MK5 GTI. How-to's include radio, interior panels and rear seat removal, wiring, metal cutting, and fuse panel tap.
See description for time stamped steps, seller info, tools and tips!
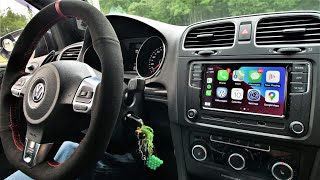
Added functionality: bluetooth, touch screen, Apple CarPlay, Android Auto, USB, SD Card, Aux, steering wheel control and reverse camera with dynamic parking lines.
This is my first automotive video tutorial. Forgive any disappearing and reappearing panels (or daylight!) When considering paying a professional installer several hours of labor, and knowing they might damage delicate parts of my car, I decided to do it myself.
I am not a professional mechanic or electrician. However, I spent many hours researching all the steps before performing the install, and everything works perfectly. That being said, I apologize if there's any missing, mistaken or misleading information. I spent several more hours editing and notating the footage in order, so that others can do this, too.
KEY STEPS:
0:25 How to remove hatch trim
1:50 How to remove rear window wiper motor
4:52 How to remove rear badge
5:07 How to cut MK5 hatch to fit motor
7:41 How to remove trunk side trim
8:45 How to remove C Pillar trim
10:19 How to install RVC wires in the rear
14:30 How to remove rear seat bench
16:22 How to route RVC wires through the car
16:51 How to remove rear interior side panel
20:26 How to remove hood release handle and lower A Pillar panel
21:05 How to remove lower dash footwell panel
21:28 How to remove MK5 radio head unit
26:52 How to route RVC wire through the dashboard
27:37 How to install dynamic parking line video wires
29:47 How to wire tap fuse panel
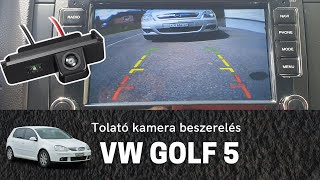
31:39 Rear view camera display test and demonstration
31:59 How to secure the wires
SELLER:
Ddren https://www.rcd330.com/shop
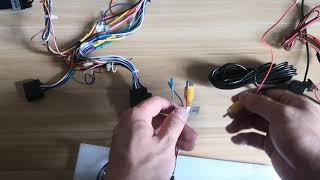
I bought the RCD 330 (Noname 187B version), rear USB, flip camera and MFSW control canbus gateway simulator all from Ddren. Incidentally, one of my badge's plastic harness connectors was damaged during shipping, but not Ddren's fault. He was very responsive and helpful in sending a fix quickly, with no charge.
I know they can be gotten from AliExpress, eBay, and competitive websites. However, I appreciated the customer service and all the products you need in one place. Each product has descriptions, photos and videos. Here you can see the additional wire processing Ddren does to make the installation easier for you. • Flip camera further processed for eas...
The forum is a very valuable resource if you have further product or application questions. Ddren is very responsive there as well.
https://www.rcd330.com
TOOLS USED:
T20 Torx
T25 Torx
Phillips screwdriver
Flathead screwdriver
Plastic trim removal set
1/4" ratchet
10mm socket
13mm socket
Zip ties and clippers
Grabber with retractable claw
Flashlight
Puller for wiper arm
Penetrating fluid (eg WD-40, PB Blaster)
Rotary/cutting tool (eg Dremel) and touchup paint (MK5's only)
ADVICE:
Treat yourself like the customer—
pull firmly, don't yank and measure twice, cut once.
Good--fast--cheap
You can only have 2, and it won't be the 3rd. You want to be cheap and good, so it will be slow. It will take more time than you think.
The most difficult steps were
-routing through the rubber tube
-removing/installing the rear side trim
Leave slack in the video wire near the camera.
Zip tie and reinstall everything only after you've tested the system. You don’t want to think you’re finished, only to have to pull things back apart for trouble shooting.
Good luck! Please give a like.


Информация по комментариям в разработке