This GlowShift video shows you how to install our White 7 Color Series 6 Gauge Custom Dashboard Set to your vehicle.
Get this gauge set here: https://bit.ly/2O5Hu9n
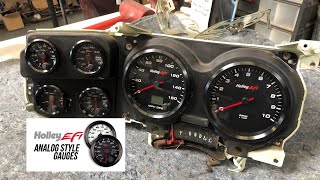
This comprehensive gauge package features a 3-3/4” Speedometer and Tachometer, and a 2-1/16” Fuel Level Gauge, Water Temperature Gauge, Oil Pressure Gauge and Volt Gauge. For the purpose of this video, we use an Ls2 and 4L80e swapped modified 2009 Jeep Wrangler for the install.
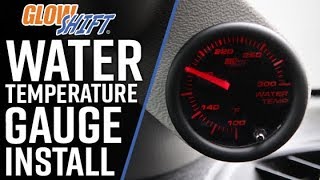
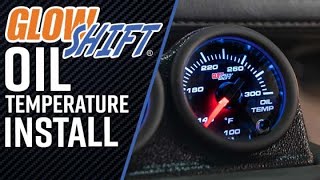
We start by installing two gauge sensors. Please note that even though we include sensors for any of our gauges that require them, they may not all be needed depending on your vehicle. For the Oil Pressure Sensor, we remove the Factory Oil Pressure Sensor and insert ours into the port. Then we connect the pressure sensor wiring harness to the sensor and run the opposite end to the Engine Bay. We install the Water Temperature Sensor by locating a temperature sensor port on the engine and install the sensor. If your vehicle does not have an available port, a GlowShift Water Sender Hose Adapter can be used.
Then we take out any dash panels necessary to gain access to the Gauge Cluster Panel and remove it. For this installation, we also use one of our Universal Dual Gauge Console Dashboard Pods. We install the Speedometer Gauge, Tachometer Gauge, Fuel Gauge, and Oil Pressure Gauge to the Gauge Cluster Panel. The Water Temp Gauge and Volt Gauge are added to the Dual Gauge Dash Pod.
After reinstalling the Gauge Cluster Panel and adding the Dual Gauge Pod to the dashboard, the sensor wires are run to the driver’s side firewall, keeping clear of any moving parts, and then into the Jeep’s cabin. We connect the Tachometer Signal Wire to the Factory RPM Signal Wire. We then proceed to make all additional required wiring connections, using our Expandable Circuits for installation. We also connect the Factory Fuel Level Signal Wire to the Fuel Level Gauge, connect the GPS Sensor for the Speedometer to the GPS Antenna, and then mount the Sensor under the dash and the Antenna on top of the dashboard. After testing the Speedometer on the road, we complete the installation by installing Gauge Mounting Brackets on the back of each gauge and ensuring that each is secure.
This video will walk you through every detail of the process step-by-step and provide a complete breakdown of everything needed to install this Custom 6 Gauge Dashboard Set.
Additional Accessories:
Universal Dash Pods: https://bit.ly/2O5Bf5o
Gauge Wiring Kits: https://bit.ly/2vlIAXV
Expandable Circuits: https://bit.ly/2Uaejpg
Water Temperature Adapters: https://bit.ly/3aTk9lc
White 7 Color Series
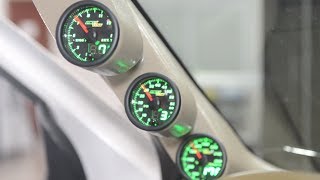
GlowShift’s White 7 Color Series features a white gauge face, magnified clear lens, illuminated red needle that sweeps 270 degrees, and an ultra-bright LED display with 7 solid color options. Select from the 7 different colors to create an original look for your custom build, choosing from blue, green, red, white, purple, yellow, and teal. Also included are 2 Color Cycle Modes that utilize every featured color. Microprocessor controlled stepper motor technology allows for extremely accurate gauge readings and incredibly smooth needle movement. Connecting these gauges to the factory headlight switch source allows the gauges to dim 30% for an easier viewing experience when driving at night. Each gauge includes the mounting hardware necessary for installation as part of your custom instrument cluster mount.
GlowShift provides installation instructions, free lifetime tech support, and a one-year limited warranty with each purchase.
View our entire product lineup at https://www.glowshiftdirect.com/
Find us on social:
Facebook - / glowshift
Instagram - / glowshift
Twitter - / glowshift
#GlowShift
WARNING: This demonstration is meant to be a guideline. All vehicles are different and professional assistance is highly recommended for installing any gauge. As with all of our products, we recommend testing the gauge before beginning the install process.


Информация по комментариям в разработке