Click for more info and reviews of this CURT Front Receiver Hitch:
https://www.etrailer.com/Front-Receiv...
Check out some similar Front Receiver Hitch options:
https://www.etrailer.com/fitguidefmr.htm
Search for other popular GMC Sierra 2500 parts and accessories:
https://www.etrailer.com/vehicle/2016...
https://www.etrailer.com
Don’t forget to subscribe!
/ etrailertv
Full transcript: https://www.etrailer.com/tv-install-c...
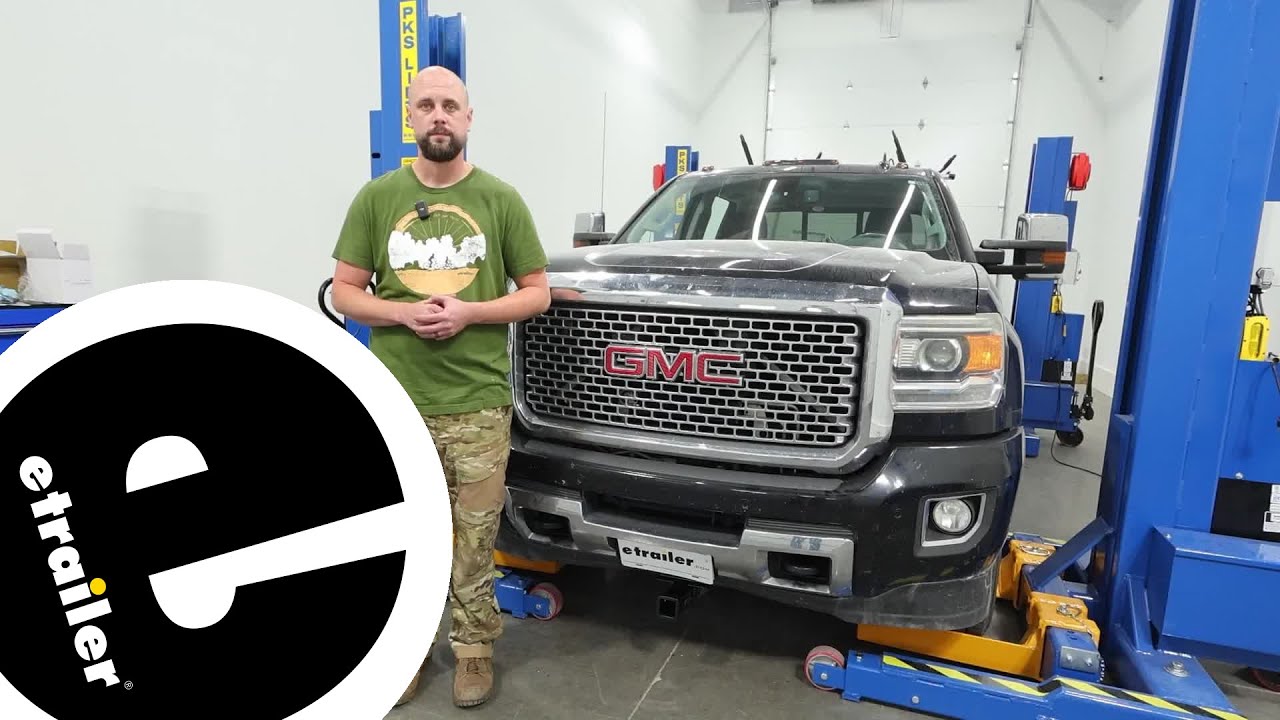
How we doing today, neighbors Ian with the trailer here. Today, we're gonna be taking a look at and installing the CURT Front Hitch Receiver on our 2016 GMC Sierra 2500. Let's go over a few features of that and why you may want one, and then we'll work on the install. One reason you may be looking at a front hitch receiver is if you've got a truck and you're gonna be pulling either a bumper pull camper or maybe even if you've got a larger fifth wheel, that's gonna take up any space you would've used possibly for a cargo carrier or bike rack, something along those lines. This particular neighbor is gonna be using this for a bike rack on the front of their vehicle because they already have a weight distribution hitch that they permanently leave on this truck. So, this is gonna open up a few more options as far as what you can carry and where it can be carried.
This is gonna feature a 2-inch by 2-inch receiver hole here with a nice gusseted in to help reinforce that shank going into the tube. It does feature a 5/8ths pinhole, which unfortunately is not included with the hitch, but you can always pick one up from us at etrailer to include nice locking types, to keep anything you've got on the front of your vehicle secure. This is gonna feature a 5,000 pound gross trailer weight rating, 500 pounds on the tongue weight, and then 9,000 pounds for our straight pole. And a couple measurements to keep in mind, just for clearance options here in the front. Since this does sit pretty low to the ground, you may find that some of your cargo carriers or bike racks, or even some winches that'll go into this receiver may need a riser along with that.
So, just keep that in mind while we're looking at these. And just from the ground to the inside top edge of our receiver tube, we're looking at 10 3/4 inches. And from the center of that hitch pin hole out to the bumper, right at 7 inches. So you may need that riser just to be able to get the proper clearance with it sitting very, very low and very in towards the vehicle. I will say for the install on this one, it is not bad at all.
All of the hardware's pretty accessible. We do have to run a couple fish wires through each side, but realistically it's not that bad 'cause everything's right there out on the open side of the frame. So, I'm gonna walk you through that whole process, but if you happen to watch this and think to yourself, "I don't wanna try to tackle that," please do check out our dealer locator on the website. We'd be happy to get you a trained professional that can help throw this on for you. But for all those DIYers, let's go ahead and hop into it and I'll walk you through.
We're gonna begin the installation under the front of the vehicle. And what we're looking for is on these two hooks underneath. There's gonna be an 18-millimeter bolt that we'll need to remove just right at the front of the hook. So, that's gonna be the only piece of hardware we are taking out, and we'll repeat everything we do on one side on the other from here on out, so that's noted. And again, that's an 18-millimeter coming out of there. (drill whirring) Now, we're gonna take one of the fish wires and we're gonna start with that coiled in, going through the most forward hole right here on the frame. And where we're trying to get to is the square hole on the back. So, if you put a good bend in that to kinda keep it up against the inside of the frame, that's gonna make that a little easier to fish out of there. So, we'll grab that coil and push that towards the top of this sway bar here just to kind of get it out of the way. With that coiled in pulled out, we'll take the square spacer block, put that coil through the hole, and then follow that up with one of our carriage bolts. And once we've got that carriage bolt on, we'll start by pushing the plate through first, getting a little tension on our fish wire, and then pull that carriage bolt through right behind it. We may have to kind of jostle that around 'cause there are gonna be some other hardware components that sit inside the frame where it can get caught. And we're looking to get that end of the carriage bolt hanging out. Now, this is gonna be a little easier with the second pair of hands, so I got Bruce helping me here. And I wanted to mention, before we start to push this into

Информация по комментариям в разработке