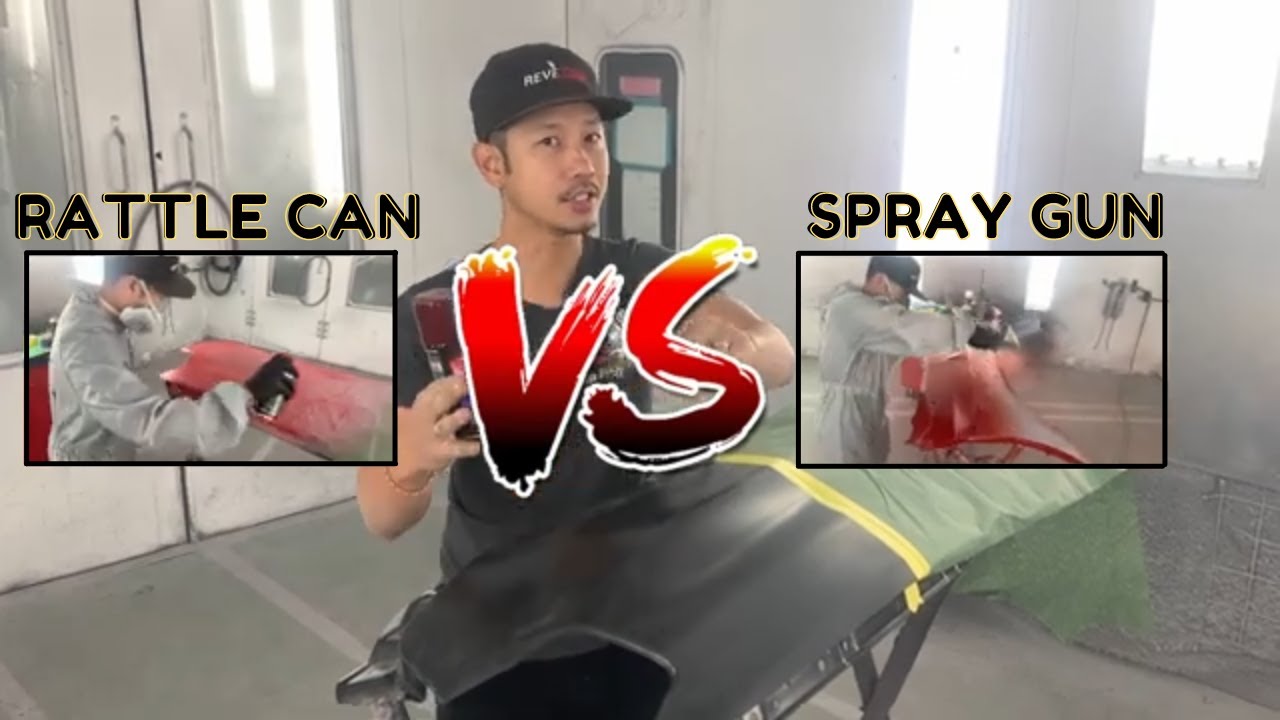
See the difference between an automotive rattle can vs. a professional automotive spray gun.
Visit us at: https://www.revemoto.com
Follow Us on:
FB: / revemoto
IG: / revemoto
Twitter: https://twitter.com/revemoto?lang=en
Thank you for watching our version of a rattle can spray job vs. a professional paint job equipment. We have always been interested in how a spray can paint job would look compared to a spray gun or pro paint job. We're a paint shop that specializes in panel painting. We get a lot of positive and negative feedback when it comes to our niche. One of which is, "I'd rather use a rattle can" to paint instead of using our service. We used "Dark Cherry Mettalic" by GM as our paint. This really got us curious and here we are!
TOOLS NEEDED:
You will need any automotive spray can with primer and clear. You can also replicate this test at home with any automotive spray gun. You'll also need the equipment to clean your panel before painting as well as safety equipment.
PROCESS:
We used the same process in cleaning the panel as well as the same temperature in our booth. We tried to keep the same conditions for both paint jobs to have the best results. When it comes to cleaning, it's extremely important that the panel is as clean as possible. We sprayed each side of the fender before painting with solvent and used a microfiber towel for drying. After that, we always use a tack cloth to wipe down the panel. We did test out the spray pattern for the rattle cans to make sure we paint the panel correctly and avoid any mistakes.
We started with the rattle can first. We sprayed down the primer that is recommended with the spray can paint system. We sprayed the primer first and laid it down lightly to avoid any reactions and we did not have much control over the spray nozzle. So, we tried our best to avoid build-up and get an even coat. We also turned our paint booth on to speed up the flash time and the outside temperature did drop to about 50 degrees. Anytime it gets colder, the flash time increases but we're lucky enough to have a heated booth. We then started the basecoat following the same process. A light coat first to avoid any type of build-up and compensate for the uncontrollable spray can tip. This by far took the longest amount of time. We sprayed about 10 passes or coats on half the panel using one spray can. For the whole fender, we probably would have used about 3 rattle cans total. This was pretty frustrating since we were trying to achieve a really nice coat we had to flash each coat which took a while. In the end, we were happy with the final look of the spray can job. Lastly, we followed up with the Dupli-color clear coat. This clear coat does have more hardener in it to speed up the drying process. You have to make sure you spray delicately to avoid any runs and drips. The most important tip, in the whole process, is to lay it lightly and let it dry before doing heavier in that coat. Once a good base is achieved, you can spray heavier coats. The clear coat looked great but we did end up getting a reaction in the end, probably from the base coat not being fully dry. The clear coat also came out very rough but a buff and polish could fix it easily.
For the spray gun, we used our typical paint method of laying down 2 coats of sealer, 2 coats of base, and 2 coats of clear coat. We were pretty happy with the results, it's much faster and the coverage is so much better. In the end, we did let the fender sit for about a month to make sure there weren't any reactions. The spray can paint did come out much lighter in the end. We probably had to lay down more coats to achieve the standard, darker color of the cap. Our professional paint did achieve the best results as far as color, but that was to be expected.
We hope this helped!
________________________________________________________
#howtopaintcars #automotivepainting #beginnersguide #paintedautoparts #howto #tutorial #DIY #panelpaint #revemoto #learntopaintcars #automotivepaintprocess #qualitymatters #paintingcarsoutside #nopaintbooth #spraycan #rattlecanpaint #lesonal
DISCLAIMER: While ReveMoto tries to make the information in this video as accurate as possible, we make no claims, promises, or guarantees about the accuracy, completeness, or applicability of the content. No information contained in this video shall create any expressed or implied warranty or guarantee of any particular result. All do-it-yourself (DIY) projects entail some risk. It is the sole responsibility of the viewer to assume this risk. ReveMoto is not responsible or liable for any loss, damage (including, but not limited to, actual, consequential, or punitive), liability, claim, or any other injury or cause related to or resulting from any information posted in this video.


Информация по комментариям в разработке