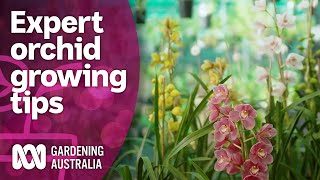
Phalaenopsis Orchids, Moth Orchids, Phals – call them what you will, these stunners are hard to resist when we see them sitting at the nursery or the supermarket, their delicate, vibrant blooms beckoning us to take them home. That is, until their blooms fade, fall off and you’re left with a sad looking bare stem and a couple of leaves…. this is the point where most people give up, bin the lot and buy another. But Jane is here to show you that with a little bit of love and some knowledge, you can keep these orchids looking awesome.
About Phalaenopsis Orchids
There are around seventy species of naturally occurring phalaenopsis, but there are literally thousands of cultivars and hybrids that have been bred over many years. Phalaenopsis orchids are essentially tropical plants, and can be found in the hot and humid lowlands of Indonesia, India, South-East Asia, the Philippines and northern Australia.
What Do They Need?
Given their origins, there is no surprise that these orchids thrive in warmer temperatures, with a preferred growing range between 18c and 28c during the day, and around 15c – 18c at night. In consistently warm parts of Australia, this means you can grow these beauties outside, but for most of us, these orchids will do best indoors where the temperature is less variable. Finding a good spot at your place is as simple as finding somewhere warm, brightly lit but out of direct sunlight. While windowsills may seem ideal, be aware that glass can get cold overnight, which can knock these guys for six, as can air-conditioners and draughts.
But heat alone is not enough to keep these guys happy – they also need humidity, somewhere between 40% – 70% being ideal. Have a look at your orchid - your plant will tell you if the humidity is too low through wrinkled leaves, stunted growth and even bud drop. Now, before you reach for the misting bottle or invest in a room humidifier, try standing your orchid on a tray of pebbles filled with water. This creates an ideal mini-microclimate, and the pebbles keep the pot from sitting IN the water, which can lead to rot and fungus.
Cutting the Flower Spike
With the right light, heat and humidity, your orchid should be set for another flush of flowers, but there are a couple of things we can do to help that process along. Phalaenopsis orchids can re-flower on the old stalk, so once the flowers have dropped, you have three options - leave the flower spike (or stem) intact, cut it back to a node, or remove it entirely.
Pruning the flower spike back to a node will almost always result in another bunch of brilliant blooms, often within 8 to 12 weeks. To do this, cut the stem, leaving just two nodes remaining – the little brown lines below where the flowers were. One of these nodes will become a new flower spike.
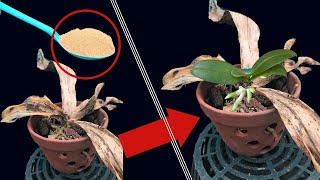
If the spike becomes withered, yellow or brown, it should be removed (by cutting off at the base of the plant) as this will not give you any more flowers. Removing the spent spike allows the plat to put energy into root development and growth… likely resulting in a brand-new flower spike!
When to repot
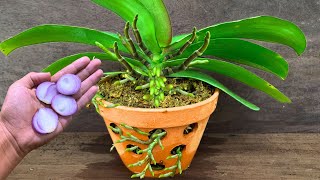
You’ll often see the thick, fleshy roots of moth orchids creeping their way out of pots. Don’t be concerned - these beautiful orchids are epiphytic or saprophytic, meaning they grow on trees or rocks, which explains their climbing roots and the loose, chunky organic potting mixes they are generally planted in.
How to repot
Use Orchid Mix straight from the bag – no need to blend with any other materials.
Gently knock the from its existing pot and loosen the root ball. Trim off any dead or damaged roots
Place the orchid in the centre of the pot with the crown just below the lip of the pot and clear of the top of the mix when repotting is complete. Never set them too deeply in pots - use bamboo stakes to hold them in place securely
Add mix in and around the roots, working it in with your fingers or a small stake if necessary
Tap the new pot or container gently on the bench to help the new mix settle in and around the roots - do not pack it down
Water the pot thoroughly (until water runs from the drainage holes) then allow it to drain freely. If necessary, top the mix up again to the suggested level.
Place the pot or container in the shade for a few days to allow the plant to settle and acclimatise before moving back to its permanent home
The best time to repot a moth orchid is after flowering has finished (generally spring and autumn) and as you see new aerial roots beginning to grow. Once you’ve pruned or repotted, be sure to give your orchid a feed. Like most orchids, phals are hungry, so a specialised orchid-food, high in potassium will encourage flowering, and is best applied every three weeks (or in accordance with the product instructions). Feeding can be slowed over winter and during cooler weather.


Информация по комментариям в разработке