Click for more info and reviews of this CURT 5th Wheel Hitch:
https://www.etrailer.com/5th-Wheel-Hi...
Check out some similar 5th Wheel Hitch options:
https://www.etrailer.com/5th-wheel.htm
Click for more info and reviews of this CURT 5th Wheel Hitch:
https://www.etrailer.com/5th-Wheel-Hi...
Check out some similar 5th Wheel Hitch options:
https://www.etrailer.com/5th-wheel.htm
Click for more info and reviews of this CURT 5th Wheel Hitch:
https://www.etrailer.com/5th-Wheel-Hi...
Check out some similar 5th Wheel Hitch options:
https://www.etrailer.com/5th-wheel.htm
Click for more info and reviews of this CURT 5th Wheel Hitch:
https://www.etrailer.com/5th-Wheel-Hi...
Check out some similar 5th Wheel Hitch options:
https://www.etrailer.com/5th-wheel.htm
Click for more info and reviews of this CURT 5th Wheel Hitch:
https://www.etrailer.com/5th-Wheel-Hi...
Check out some similar 5th Wheel Hitch options:
https://www.etrailer.com/5th-wheel.htm
https://www.etrailer.com
Don’t forget to subscribe!
/ etrailertv
Full transcript: https://www.etrailer.com/tv-review-cu...
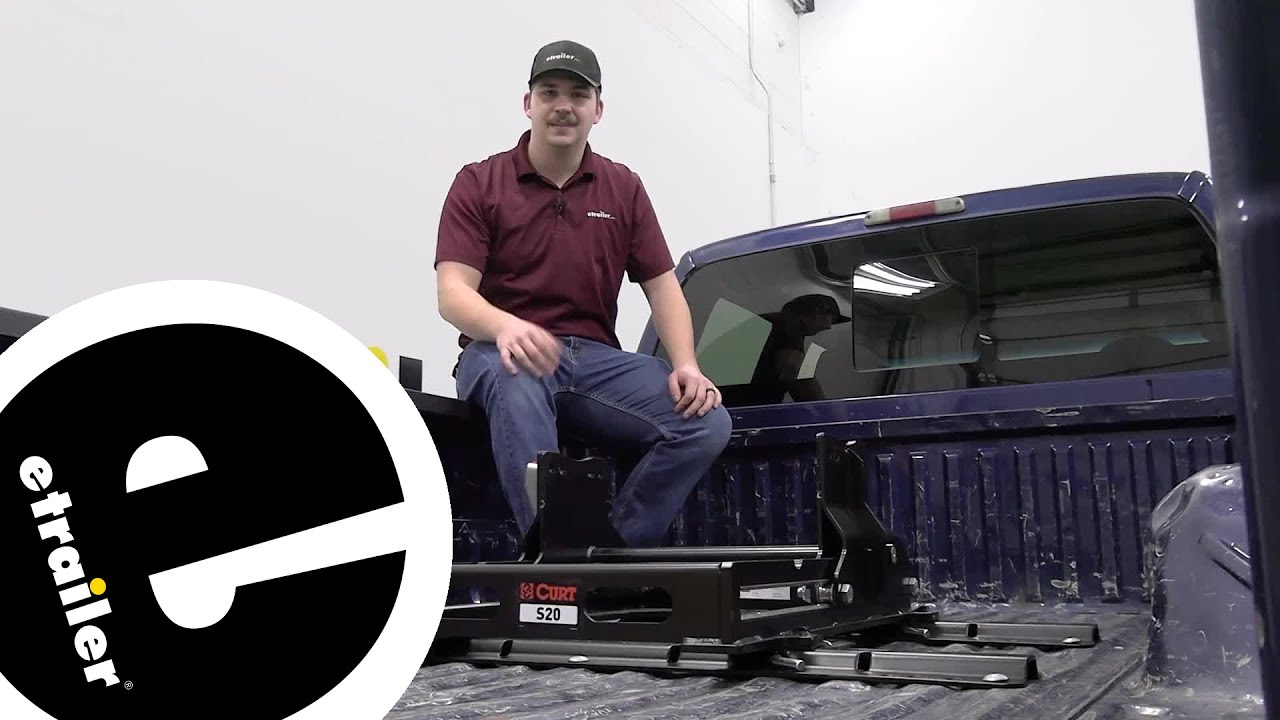
Hi everyone. Aiden here with etrailer. Today we're gonna be taking a look at and showing you how to install this Curt S20 slider base for your fifth wheel hitches. This is gonna have a 20,000 pound capacity and be designed to work with a variety of different fifth wheels from Curt, including their A16, the E16 and the A25th wheels. You can get this in kits if you want to but if you already have one of those fifth wheels, maybe we've changed over to a truck with a shorter bed and now we need a sliding base, we can get just this sliding base and use it with one of those existing fifth wheels if you already have 'em. Let's check it out.
Now, this is going to be a more manual slider so you operate it from outside the truck bed whenever you need to get additional turning clearance. You get 12 inches of travel back and forth. So to get it to slide back, remove this pin and retaining clip, pull the handle towards you, and then at this point, you'd get in your truck and drive forward. This will auto latch back into position. Now, from outside doing it by hand, it's a little clunky but you'd be driving at that point it'll automatically latch in place, giving you 12 additional inches of clearance, giving your cab better clearance for turns.
And then whenever you're done and you wanna return it to that original state, just pull that again, back up your truck, and it'll automatically latch in for the main driving position again. So you only have to get outta your truck once to get it to latch in in that driving position. And just make sure to not forget your pin and retaining clip. Now, like I mentioned before this can handle 20,000 pounds of gross towing weight. Now with that capacity, there is a bit of a caveat that that's for the sliding base.
Depending on the fifth wheel head you're using this with, let's say you're using the A16 from Curt, that one doesn't have as high a capacity. In that case, you'd wanna go by the lowest rated component and also be sure to check your truck and see what it can handle. Throughout the whole system, we should be abiding by the lowest rated component to make sure we're hauling safely. Throughout the sliding base, we're gonna have a solid seal construction with a carbide black powder coat finish to help resist rust and corrosion over time. The sliding rails here are gonna be bit of a bare material but it does have a coating on there and I would recommend regularly applying grease to keep this operating smoothly.
And then just make sure we check it to make sure that nothing is building up and collecting in that grease and causing things to bind up and not move as smoothly. Now looking at the base here you can see it mounts to our industry standard rails, just popping into those slots and then pinning and clipping into pit place just to keep it all secured. There are rubber isolators in there to reduce our metal on metal contact, keeping things relatively vibration free, just helping to dampen it a little bit and again, reducing that metal on metal contact to help with durability. And speaking of that installation process, it's very straightforward. I'd recommend grabbing a friend just to help you lift it and drop it into place because it can get quite a bit heavy on this side with the sliding part. But overall, it's very easy. You've got dedicated handholds and again, out of the box, there's no setup required. It's really just drop it into place and pin it in. Let's see how we did that. We're just gonna drop those in place right now on our ISR rails. And with these, we've got the two holes on the slide, the side, and the slotted hole in the middle. That's where we're gonna line all four of those up with

Информация по комментариям в разработке