Exp22_PowerPoint_Ch02_ML1_Design
Whatsapp no : +92326-1963514
Whatsapp link : https://wa.link/suqi9n
Gmail : [email protected]
Start PowerPoint. Download and open the file named Exp22_PPT_Ch02_ML1_Design.pptx. Grader has automatically added your last name to the beginning of the filename.
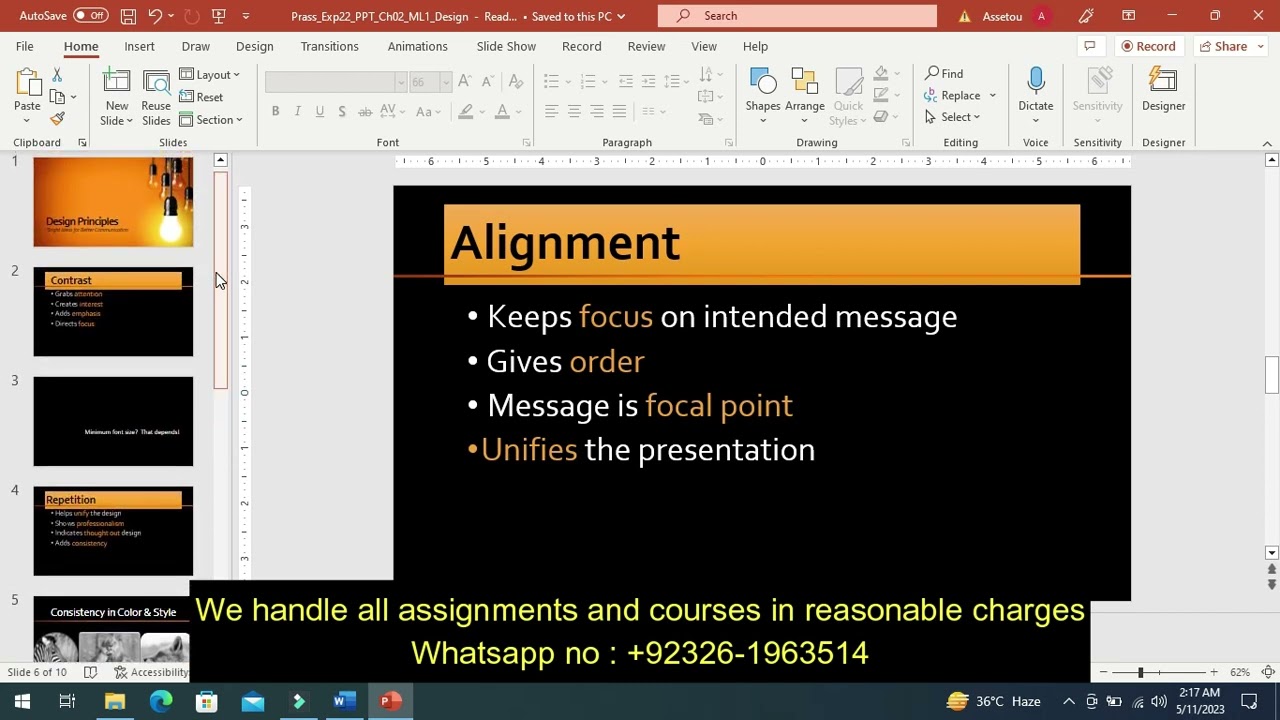
On Slide 2, change the font color of the title text to Black, Background 1. Increase the font size to 66 and apply Bold. Use the Format Painter to apply the same format to the title text on Slides 4, 6, and 8.
On Slide 3, insert a text box in the upper-left corner of the slide. Type Make it in the text box and increase the font size to 80. Set the Horizontal position to 0.73" and the Vertical position to 0.73".
Insert a Rectangle shape in the center of the slide. Make the following changes to the rectangle shape:
• Set the height and width to 3.9".
• Set the Horizontal position to 4.7" and the Vertical position to 0.4".
• Type Big in the shape, increase the font size to 160 and change the font color to Black, Background 1.
• Apply the Intense Effect – Orange, Accent 1 shape style.
• Apply the Preset 2 shape effect.
On Slide 5, apply the Reflected Perspective, Right Picture style to the three images on the slide.
On Slide 10, insert the black circle icon with the number 1 from the Signs and Symbols category. Set the Horizontal position to 3.2" and the Vertical position to 3.4". Make the following changes to the slide:
• Insert the number 2 dark circle icon. Set the Horizontal position to 3.2" and the Vertical position to 5.5".
• Insert the number 3 dark circle icon. Set the Horizontal position to 9.1" and the Vertical position to 3.4".
• Insert the number 4 dark circle icon. Set the Horizontal position to 9.1" and the Vertical position to 5.5".
• Apply the Offset: Bottom graphic effect from the Shadow category to the four icons.
On Slide 2, select the content placeholder with the bullet list and apply the Fly In animation. Set the Duration to 0.75 and the Delay to 0.50.
Using the Animation Painter, apply the same animation and settings from Slide 2 to the bullet lists on Slides 4, 6, and 8.
On Slide 2, select the text Adds Emphasis. Select Add Animation on the Animations tab and select Grow/Shrink from the Emphasis group as a second animation to the text.
Open the Animation pane. Select the chevron arrow after the first animation to expand the animation. Select the last animation in the list (5 Adds Emphasis). Click or press the Move Up arrow once so that the animation is number 4 in the list.
In this tutorial video, we'll be exploring the design features of PowerPoint, specifically in Chapter 2. You'll learn how to create visually appealing and engaging presentations using different design elements such as color schemes, fonts, and layouts. We'll also cover best practices for using images, icons, and graphics to enhance your presentation. By the end of this video, you'll have a solid understanding of how to create a professional-looking presentation that effectively communicates your ideas to your audience. Whether you're a beginner or an experienced PowerPoint user, this video is sure to provide you with valuable insights on how to make your presentations stand out. So, let's dive in!
exp19_powerpoint_ch02,#exp19_powerpoint_ch02,exp19_powerpoint_ch03,exp19_powerpoint_ch01,exp19_powerpoint_ch02_ml1,#powerpoint_ch02,exp19_powerpoint_ch02_ml1_duarte,#exp22_powerpoint_ch02,exp19_powerpoint ch 2,exp19_powerpoint,exp19_powerpoint_ch02_hoeassessment,#exp19_powerpoint,exp22_powerpoint_ch03,#exp22_powerpoint_ch03,exp19_powerpoint_ch02_cap_scienceclub,#exp19_powerpoint_ch02_cap_scienceclub,exp19_powerpoint_ch02_ml2 - education 1.1


Информация по комментариям в разработке