Click for more info and reviews of this Lets Go Aero Hitch Bike Racks:
https://www.etrailer.com/Hitch-Bike-R...
Check out some similar Hitch Bike Racks options:
https://www.etrailer.com/dept-pg-Hitc...
Search for other popular Winnebago Vista Motorhome parts and accessories:
https://www.etrailer.com/vehicle/2018...
https://www.etrailer.com
Don’t forget to subscribe!
/ etrailertv
Full transcript: https://www.etrailer.com/tv-install-l...
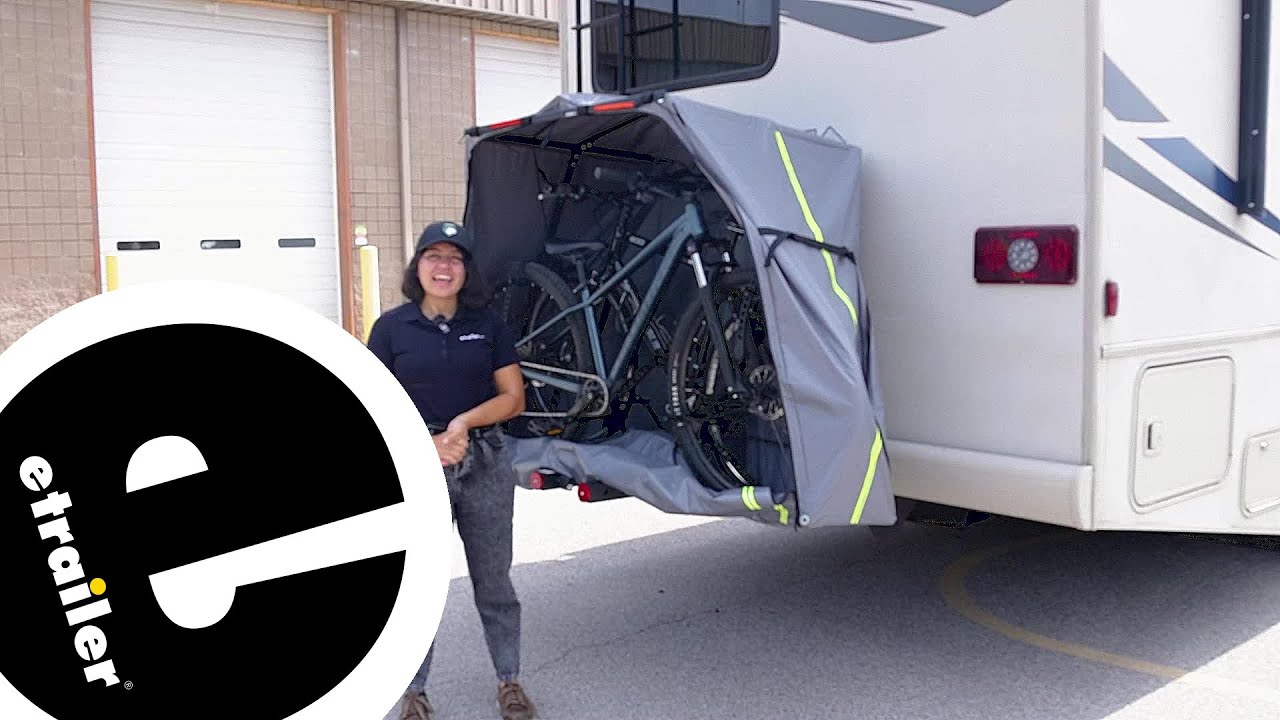
Hey, everyone. It's Evangeline right here at etrailer. Today we have the Let's Go Aero V-Lectric bike rack. We currently have the enclosed bike carrier kit, and we're gonna take a look at how it fits here on our 2018 Winnebago Vista motorhome. A lotta people look at this bike rack because this is gonna offer pretty much the most coverage for your different bikes, whether they're heavier electric bikes or bikes where you want to protect the frame and finish. Now, this does have a weight capacity of 60 pounds per bike.
You can carry up to two bikes, and what we have here is the cover and bike rack combo, but if you choose to, you can also get these parts separately, either the V-Lectric 3.0 bike rack or the Let's Go Aero BikePack cover. Both work together seamlessly, and being able to mix and match them might offer you just an option if you want to invest in the cover later on or if you already have the bike rack. Now, focusing here on our motorhome, we're gonna talk about some different features and different dimensions that you would have to keep in mind to get the best experience out of this rack. This attaches to the hitch of your motorhome. We have a hitch that is rated for 500 pounds.
Fortunately that's something that works great with our bike rack. Now, this will add some length to the back of it. So I like to measure from the bumper of the home to the end of the rack. That's gonna be where our reflectors are, and that's gonna sit almost three feet away. Now, on vehicles where you have tight parking areas, that might be a concern, but if you already have a larger motorhome, then you also have a lotta clearance that you're dealing with anyways.
And there are some extra features here so that when people are driving behind you, they still see the bike rack and that extra space it takes up. So you have reflectors both on the sides of the bag as well as on the back of the rack. The reflectors will sit on the twin tubes. You're also gonna have reflectors on the front of the bag, and you have a light wiring harness included with this rack. We'll take a look at where that light attaches to the plugs in the back of your motorhome, but it's kind of tricky to get to right now.
So what we're gonna do is we're going to slide this rack out. You have two hitch pins included with this rack, and one is going to be for your twin tubes. So when you unlock the pin and then you turn it so that it loosens up on that sliding tube, you're then able to slide the whole system out. Now, you do get two keys per lock, so four keys total, all keyed alike, and this is gonna add some security to your system. You can also just use the included clip if you don't wanna go through the process of removing locks all the time. But with this out, you can then pull your bikes and your rack out to your preset length determined by your safety cable. This now gives you much more clearance behind the motorhome, great for loading up your bike here in the back or for taking a look at your wiring harness or your anti-rattle bolt. While there is wiring on our Vista motorhome today, it is a seven-way plug, and the wiring included with your bike rack is gonna have a four-way flat harness. So if you do wanna utilize those features of having your tail lights and your turning lights on your bike rack, then I do recommend getting a seven-way to four-way adapter. We have adapters here that allow you to still have that seven-way plug as well as that four-way plug available here on our website. At the hitch, we have our anti-rattle bolt in place, and this is creating a lot of the support for our system. Since this can all get pretty heavy, we wanna make sure that we have everything fully tightened down. I use a 7/8 wrench in order to secure that bolt. Now, we also have this on its closest hole. This gets us as close to the motorhome and it's not sitting out too far, and what I do like with our motorhome here is that our base still clears the bumper almost perfectly. There's about half an inch of space between the base and our bumper. So I'm not worried about any clearance issues, but I also know that we're getting as close to that supporting hitch as possible. With the use of that wiring adapter, the V-Lectric bike rack is gonna

Информация по комментариям в разработке