Click for more info and reviews of this Dexter Trailer Brakes:
https://www.etrailer.com/Trailer-Brak...
Check out some similar Trailer Brakes options:
https://www.etrailer.com/dept-pg-Trai...
https://www.etrailer.com
Don’t forget to subscribe!
/ etrailertv
Full transcript: https://www.etrailer.com/tv-install-t...
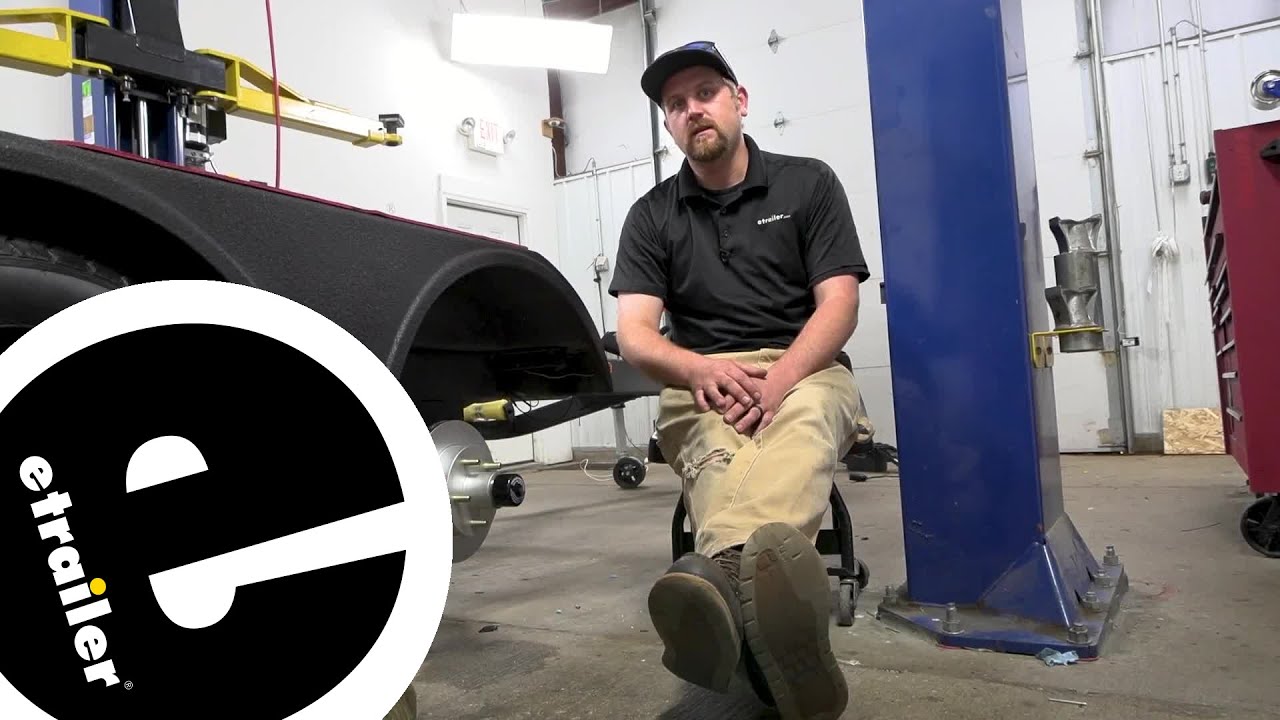
Hey, everybody, Ryan here at etrailer. Today we're gonna be showing you how to install the Titan Disc Brake Assembly, but before we get into that, why don't we just check this out and make sure it's gonna work for you. When it comes to braking performance, it's really hard to argue with a disc brake setup. All the modern cars and vehicles are quick at them, and there's a reason for it. They just have better performance and better stopping power over the older style drum brakes, and that's really important. When you're towing stuff around, you wanna have something that is reliable.
And when it comes to disc brakes, compared to drums, there really isn't any disadvantages to a disc brake. You get better performance and less maintenance, and as we all know, if we're being honest with ourselves, a lot of times the trailers get neglected, it's just kind of the way it is, and with drum-type brake, it's something you have to kinda pay attention to. They're kind of a pain to work on. Sometimes you have to get under there and adjust 'em and everything else. And with the disc brake setup, you just don't really have to worry about it too much.
Obviously every now and again, it's not a bad idea to check the condition of your rotors and obviously the thickness of your pads, but there's not any adjustments or anything like that. Obviously, if the rotor gets warped or the pads are run down, you change 'em just like you would on your car, all right So it makes it a little bit easier, and like I talked about maintenance, you are gonna have to still keep your hubs and your bearings lubricated. Since the hubs are kinda integrated in here, that's something you have to do, but it does make it easier, the kit does, because it comes with a Trailer Buddy. So you pull this cap off, and there's a grease fitting in there. You pump it full of grease until the little disc in here comes out flat, and you're done.
So it makes it super easy, super convenient. You don't have to take anything apart. And honestly, you don't even have to take the wheels off. Once the wheels are on there, this will poke through, and you can get there super easy. I do know a lot of people are probably wondering, is this setup gonna work for your particular trailer And, unfortunately, the answer isn't super straightforward.
There's a handful of things that are gonna come into play when figuring that out, one of 'em being what your axles are rated for. You will need a four-bolt flange on the back of your axle. That way, you can bolt your bracket and all this stuff up to it, your bolt pattern, your wheel size, and so on. Now, generally speaking, all those kind of go in hand in hand with each other. So for example, on a 3,500 pound axle, chances are good you're gonna have all that stuff, and it's gonna match up, but there is some oddball stuff out there, so something you wanna pay attention to and check everything before you pick these up. That way, make sure you get the right stuff the first time. And then there's several different ways you can actually use these too. So one of 'em will be you can add it or even upgrade, to upgrade from a drum brake setup. This kit also be a good direct replacement or a small upgrade to this brake setup that you might already have on your trailer, so that's exactly what we're doing today on our trailer. It already has this brakes. Now, granted, they're aged. On the backside, the rotor feels like it's starting to warp a little bit and kinda get grooved. The pads are about half life. And the main reason we're doing this even is inside of here, we have some water, so our seals failed, and the bearings are shot more or less. And so because of all those things combined, while we're in here, it just kinda makes sense to replace everything, have a good start, and get ourself going on the road again with the confidence knowing that our brake setup is proper. With that said, our setup today was pretty easy, is essentially everything just kind of bolted right up. That probably won't be the case for a lot of people. I feel like most people will be they're adding these or probably upgrading from a drum brake, and I'm gonna do my best here to think of everything you're gonna need to make these work properly, all right So let's say if you have drum brakes, for example, the first thing you need to do is make sure your actuator is capable of producing enough pressure because this brakes require higher pressure to operate properly than drum brakes do. So you wanna make sure your actuator is rated for a

Информация по комментариям в разработке