Click for more info and reviews of this TorkLift Battery Boxes:
https://www.etrailer.com/Accessories-...
Check out some similar Battery Boxes options:
https://www.etrailer.com/dept-pg-Acce...
https://www.etrailer.com
Don’t forget to subscribe!
/ etrailertv
Full transcript: https://www.etrailer.com/tv-review-to...
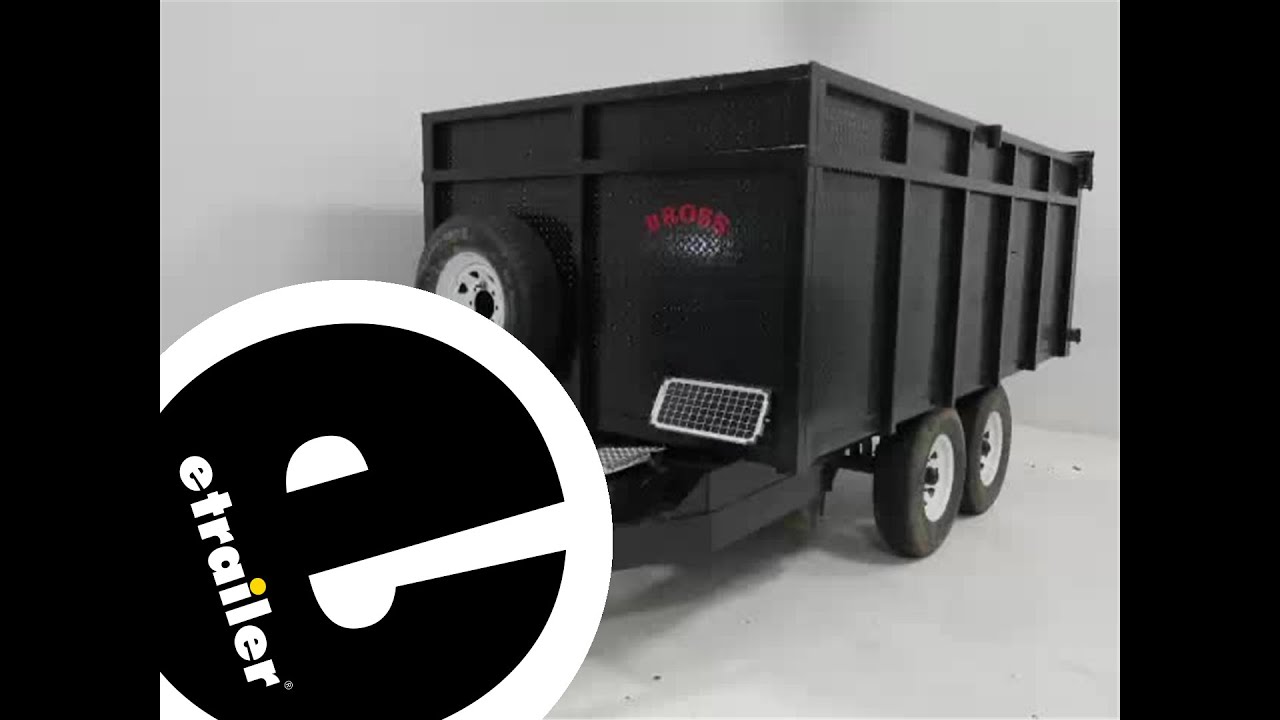
Today, we're going to taking a look at and also showing you how to install the Torklift solar power kit for the Torklift power armor battery box. This is the 10-watt solar panel. Its part number is TLA7713. We're also going to be adding to be adding the amp regulator, part number TLA7715, since we have a single-battery setup. Here's what your panel's going to look like once it's installed. We've done a custom install here, mounted it right to the front of the trailer it's going to be used for.
These can also be mounted right on top of your existing Torklift battery box. They can be used as a replacement for an old solar panel that maybe you busted or broke or whatever the case is there. As we've done today, we can use this as an add-on to a trailer that already has an existing 12 volt battery. Maybe we're not using the Torklift box or whatever that case may be, but we can still get it wired up. What the panel's going to do is provide 10 watts of charging power for us. It uses that from, of course, just like any other solar panel, it's going to convert the UV rays into energy.
It helps batteries out if they've been drained down to about 50% battery life. It can still bring them up from there. It can give us a maintenance charge, so it's constantly going to provide a little bit of that trickle charge into that battery and just help make sure that whenever we come to this trailer, which isn't a trailer we use all the time. When we do come to the trailer, we're not going to have to worry about the battery not working and allowing our dump bed 00:01:28 to operate. This is going to come with, you'll see in the install, a black, round plug that we can easily mount on the top or side of the box to allow our panel to plug in. We've used it in conjunction with the six amp regulator just because we're using a single battery.
We're able to take advantage of the dual leads that come off of that, plug it right in. Overall, with this being a dump bed, it's nice because we can quickly disconnect here, raise our dump bed, bring it back down and then just plug it right back in. To begin our installation, we're going to be using a couple of L brackets. These are going to go to the side where we're going to drill a couple of holes and mount them on there. This is going to give us a little bit of articulation with our solar panel to where we can get it angled properly up to where it can maximize it's potential energy by capturing a lot of sunlight. To do that.
We're going to just make a small hole right here at the end of the aluminum. We'll, of course, want of avoid the solar panel area. We're going to want to avoid the box area here. We'll be going right through the end. What we're going to do is just mark evenly on both sides, just figure out where we want our bolts to go here. We'll go ahead and drill it out. Of course, we want to be careful on the back side, like we said. Now, we'll bring our bolt up through the back side here, just like that, place our bracket on. We're also using a serrated flange nut there so it'll lock down in place. Through the other side. All right. Now we can mock it up on our trailer. We want to mount this close enough to our battery, of course so that our lead can come down and make the connection that we want. In this case it's going to be running into our six amp regulator. I like to tighten the brackets down all the way. That way, they're going to hold their position as far as left and right goes. Then we'll mark the center. Once we've marked our center, there and there, we're just going to measure up from the bottom so wee get a nice, level fit. It looks like about six and three quarters of an inch for us is going to be right where we want to go with it. Now let's get our two holes drilled in there. Now we can we can go ahead and pass our bolts through there. For the outside here, just like here, we're using these locking flange nuts so we don't ever have to worry about them really backing out on us. All right. Let's get our wrenches, set our angle and we'll get all of them tightened down here. With our application today, we've got a partner inside the trailer and they're going to help hold our bolts while we tighten down our nuts here from the outside. Let's do our other side. I will also tighten down our outside ones here. As you can see, we're nice, mounted where it's going to get plenty of sun. Now we'll just take care of making our connections. Now we can get can gain access in there to our battery box. That high tech lock we'v

Информация по комментариям в разработке