how to make Low Poly Character in blender | blender tutorial in hindi
#blendertutorialinhindi
#blenderanimation
#blendertutorialinhindi
Title: Creating Low Poly Characters in Blender: A Beginner's Guide
Introduction:Creating low poly characters has become increasingly popular in the world of 3D modeling and game development. Low poly art brings a unique aesthetic appeal, with its simplified and geometric representations, and is widely used in various applications such as animation, virtual reality, and digital art. In this article, we will guide you through the process of making a low poly character using Blender, an open-source 3D creation suite.
Gathering InspirationBefore diving into the 3D modeling process, it is crucial to gather inspiration and references for your low poly character. Browse through websites, art platforms, or even concept art to gain a better understanding of the style, proportions, and details you want to incorporate into your design. This step serves as the foundation for your character's overall aesthetic.
Planning the ConceptOnce you have collected enough references, it is time to start planning your low poly character's concept. Sketch out your ideas, exploring different poses, expressions, and outfits. This will help you visualize the character's overall look and feel before entering the digital realm.
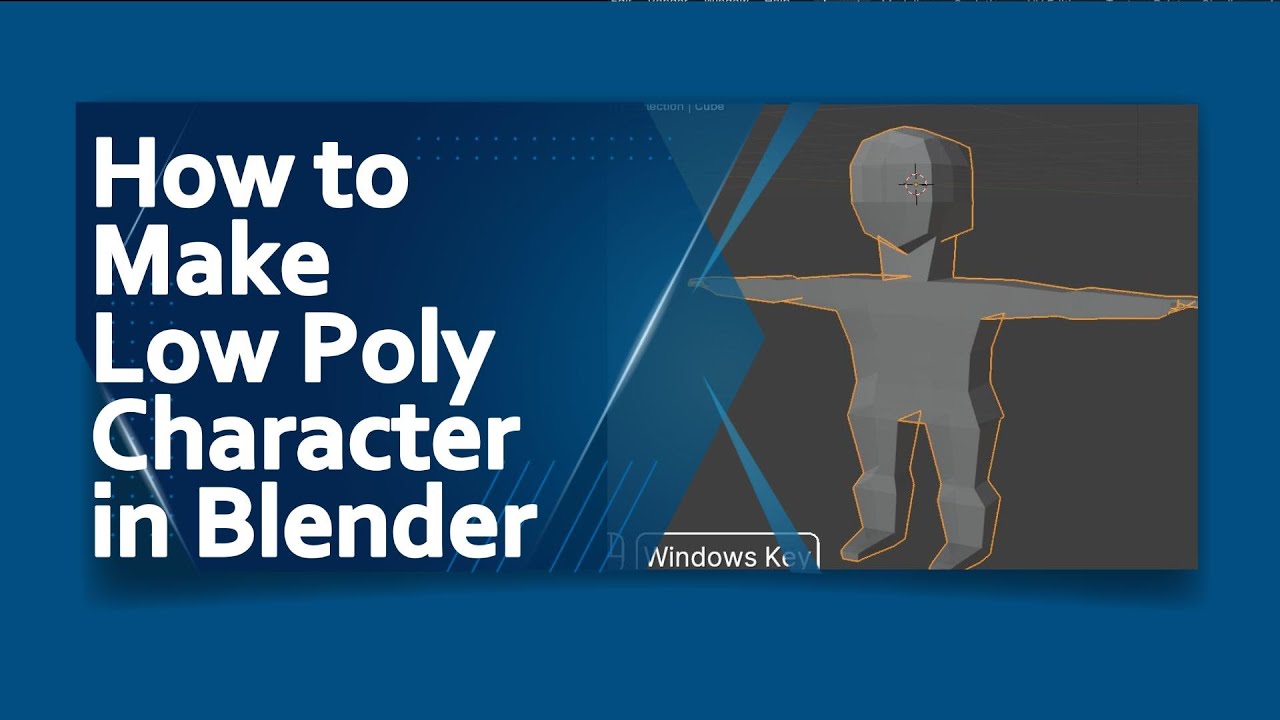
Creating the Base MeshIn Blender, start by creating a simple base mesh that defines the general form of your character. Begin with a cube, cylinder, or any other primitive shape that aligns with the proportions and dimensions you envision for your character. Blender provides various modeling tools like extrusion, scaling, and merging vertices, to manipulate and refine the base mesh as per your concept.
Reducing the Polygon CountThe essence of low poly design lies in keeping the polygon count minimal. To achieve this, you need to simplify your character's model by reducing unnecessary polygons while retaining its recognizable features. Blender offers tools such as the Decimate Modifier or retopology techniques to help you reduce polygon counts, ensuring an optimized model while maintaining the charm of low poly art.
Defining the Silhouette and DetailsOnce you have achieved the desired polygon count, it's time to emphasize the key features and details that make your low poly character come to life. By extruding edges, adding edge loops, or combining different shapes, you can define the character's silhouette and enhance specific facial or body features. This process requires attention to detail while maintaining the overall low poly aesthetics.
Texturing and ShadingTo add color and texture to your low poly character, you can either opt for a simplistic flat shading style or create more intricate textures. Blender provides a powerful node-based material editor, which allows you to apply shaders, textures, and colors to your model. Experiment with different techniques like vertex painting or creating simple UV unwraps to achieve the desired visual effects.
Rigging and Animation (optional)For those interested in animating their low poly character, Blender offers a robust rigging and animation system. This step involves creating a skeleton (armature), assigning weights to the character's mesh, and setting up keyframes to animate the model. However, this stage is optional depending on the intended use of your character.
Creating low poly characters in Blender can be a rewarding and enjoyable experience. By following these steps, you can unleash your creativity and bring your artistic vision to life. Remember to experiment, iterate, and have fun throughout the process, as the low poly style allows for diverse interpretations and infinite possibilities. So grab your mouse or stylus, fire up Blender, and start crafting your own unique low poly characters today
Thanks for Watching

Информация по комментариям в разработке