https://www.dtffilmmfr.com/the-compre...
WeChat/WhatsApp/Mobil: +86-158-5832-2153
Email:[email protected]
What Are Deco Foil Transfer Sheets?
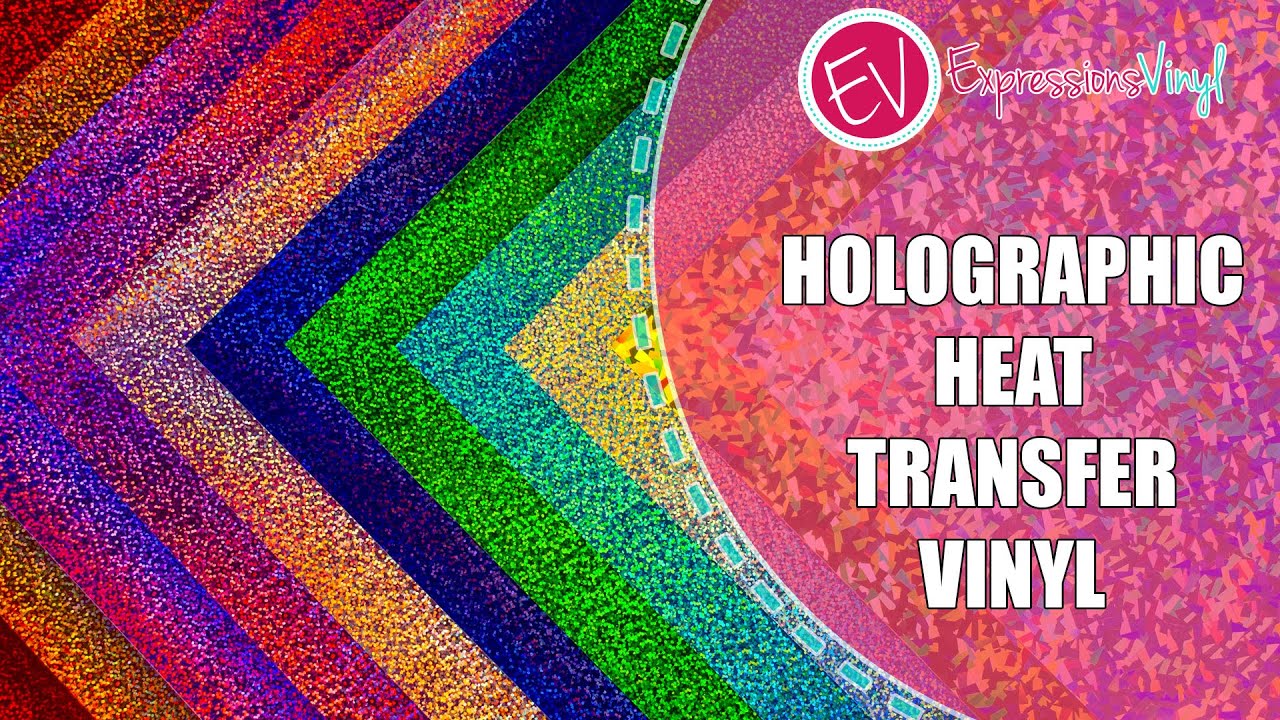
Deco foil transfer sheets are thin, pre-printed sheets that contain adhesive-backed metallic or holographic designs. These sheets come in a variety of colors, patterns, and finishes, ranging from classic gold and silver to vibrant rainbow holographic effects. The adhesive layer is activated by heat, allowing the foil design to transfer onto a surface such as paper, fabric, wood, or ceramics.
How Do Deco Foil Transfer Sheets Work?
The process of using deco foil transfer sheets involves three key steps: printing, application, and heat transfer.
Printing: The design or text you want to transfer is printed onto the deco foil sheet using a specialized printer or by cutting the sheet with a die-cutting machine. The foil layer adheres to the adhesive backing, creating a ready-to-transfer design.
Application: The printed foil sheet is placed onto the surface you want to decorate, with the foil side facing up. This step is crucial for ensuring proper alignment and coverage.
Heat Transfer: A heat press or a household iron is used to apply heat and pressure to the foil sheet. The heat activates the adhesive, causing the foil design to transfer onto the surface.
Tools And Materials You’ll Need
To successfully use deco foil transfer sheets, you’ll need a few essential tools and materials:
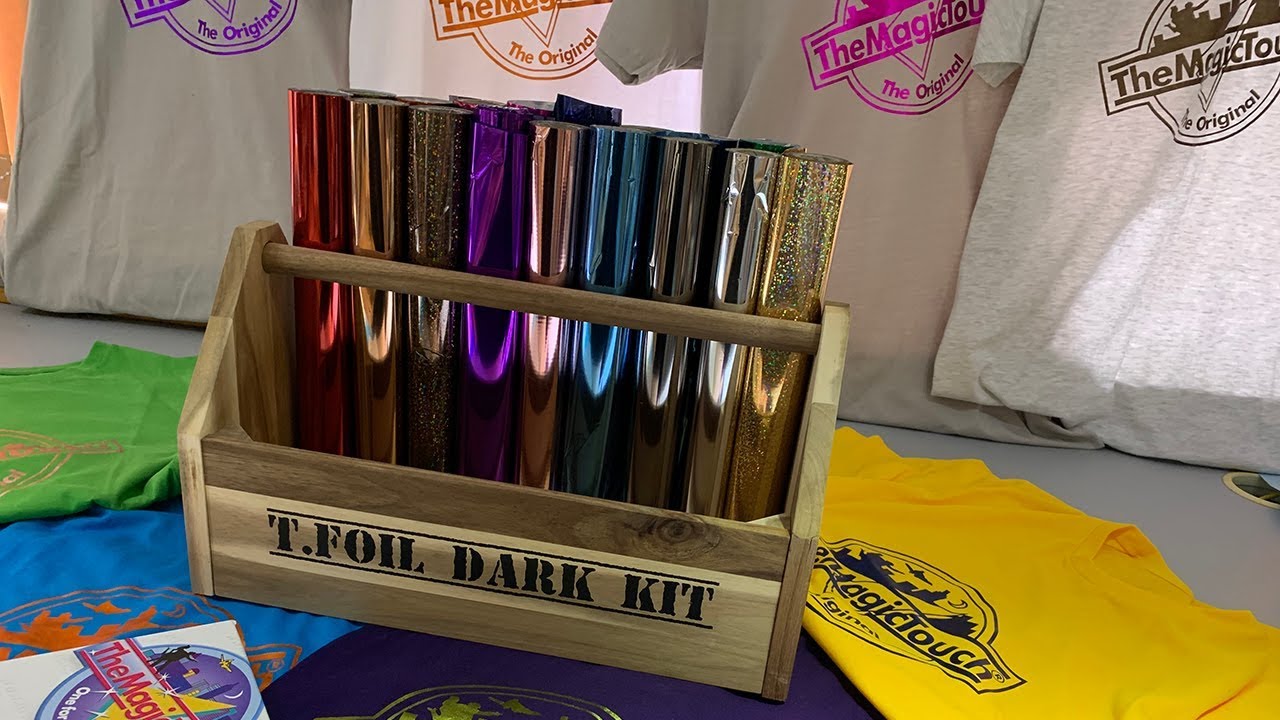
Deco Foil Transfer Sheets: Choose a variety of colors and patterns to suit your project. Look for high-quality sheets from reputable brands to ensure vibrant, long-lasting results.
Printer or Die-Cutting Machine: If you’re printing your own designs, you’ll need a printer compatible with foil transfer sheets. Alternatively, a die-cutting machine can be used to cut custom shapes and designs directly from the sheet.
Heat Press or Iron: A heat press is ideal for professional results, but a household iron can also work for smaller projects. Make sure your iron is set to the appropriate temperature for the type of foil you’re using.
Surface to Decorate: Deco foil transfer sheets can be used on a wide range of surfaces, including paper, fabric, wood, ceramics, and more. Choose a surface that is clean, dry, and free of dust or oils.
Blade or Scissors: For trimming excess foil or cutting custom shapes, a sharp blade or pair of scissors is essential.
Lint-Free Cloth: A clean, lint-free cloth can be used to smooth out the foil during the transfer process and remove any bubbles or wrinkles.
Step-By-Step Guide To Using Deco Foil Transfer Sheets
Follow these detailed steps to achieve stunning results with your deco foil transfer sheets:
1. Prepare Your Surface:
Start by ensuring that the surface you want to decorate is clean, dry, and free of dust or oils. This will help the foil adhere properly and ensure a smooth transfer.
2. Print Or Cut Your Design:
If you’re printing your own design, use a printer compatible with foil transfer sheets. Print your design onto the foil sheet, making sure to mirror the image if necessary. Alternatively, if you’re using a die-cutting machine, cut your design directly from the foil sheet.
3. Apply The Foil Sheet:
Place the printed or cut foil sheet onto the surface you want to decorate, with the foil side facing up. Make sure the sheet is positioned correctly and aligned with your project.
4. Apply Heat And Pressure:
Use a heat press or an iron to apply heat and pressure to the foil sheet. If using an iron, set it to a medium-high temperature and ensure it is set to dry heat (no steam). Press down firmly on the foil sheet, moving the iron or heat press in a smooth, even motion.
For a Heat Press: Preheat the press to the recommended temperature for your foil type (usually between 300°F and 320°F / 150°C and 160°C). Place the foil sheet onto the surface, then cover it with a Teflon sheet or silicone pad to protect the press. Apply pressure for about 10-20 seconds, depending on the size of the design.
For an Iron: Preheat the iron to the recommended temperature and press it firmly onto the foil sheet. Move the iron in a circular motion to ensure even heat distribution. Apply pressure for about 10-20 seconds per section, depending on the size of the design.
5. Remove The Backing:
Once the foil has transferred, carefully peel away the backing paper. If any part of the foil hasn’t transferred properly, simply reapply heat and pressure to that area.
6. Trim The Foil:
Use a blade or scissors to trim away any excess foil around the edges of your design. This will give your project a clean, professional look.
7. Finishing Touches:
Allow your project to cool completely before handling. If necessary, seal the foil with a clear coat of spray varnish or adhesive to protect it from wear and tear.


Информация по комментариям в разработке