Click for more info and reviews of this Gate King Lift Supports:
https://www.etrailer.com/Lift-Support...
Check out some similar Lift Supports options:
https://www.etrailer.com/fitguidebe.htm
https://www.etrailer.com
Don’t forget to subscribe!
/ etrailertv
Full transcript: https://www.etrailer.com/tv-review-ga...
Hey guys, John here for etrailer.com. And today we are going to be taking a look at the Gate King Tailgate Adjuster to demonstrate how the Gate King works. Let's first see what our tailgate acts like without the Gate King installed. So this operation will be normal with the gate team. When we push our tailgate back up and in place, that's where the Gate King will stop it so we can basically put pressure or anything in the back of our pickup or to hold things up in place. With just our cables here our tailgate's going to fall down at any angle that we have at, until we put it up, back in place.
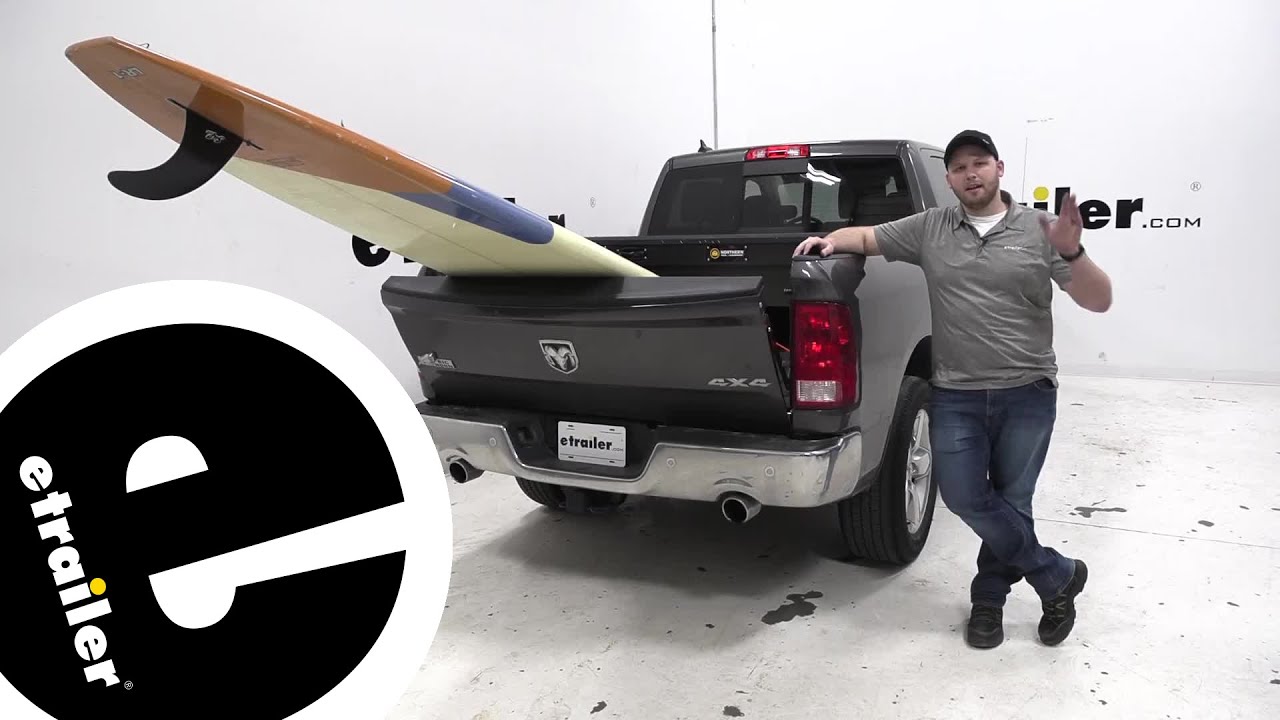
So with the Gate King installed now so let's see how it performs compared to how our initial tailgate was working. So we can still operate it like normal down and pushing it back in place.But when we want to use the Gate King, pop the pins here, and now we can adjust it at different stopping points all the way, depending on what kind of cargo we have in our truck bed. This is a keeper pin and so when we push this down and in place that unlocks, this allows us to use our tailgate as normal otherwise, we can reset the entire function by lifting our tailgate completely into place and this here presses the pin all the way into that clip so then we can use our tailgate as normal. It allows us to adjust their tailgate to different levels so, that way we can accommodate a wider variety of cargo. Here, we have our paddle board in the back of our pickup, and instead of the paddle board sitting straight out, we now have it elevated so it sits up out of the way.
And it's a little more visible for other people who are on the road.Here we have a 10 foot ladder in the bed of our pickup. And while we're able to kind of wedge the bottom of a ladder under our toolbox and then press this up so it doesn't move a whole lot up and down yet there is still free movement here so it's always a good idea to use some tie-down straps to secure whatever kind of cargo we still have in the bed of our truck. So the Gate King replaces the cables that we normally use for our tailgate. And while it doesn't increase the weight capacity of our tailgate, we're still able to use the tailgate as normal. So any load you normally put on it, like sitting on it, or maybe a cooler or something like that, and you still do that safely.Our kit comes with two Gate Kings, one for either side of the tailgate, two stabilizers, four bolts, four washers, four spacers, our release key as well as a hose clamp to keep our tailgate in place for when we have it set at a 45 degree angle.
For install, first thing we need to do is lay everything out so we can make sure we have everything in place. Our instructions has some easy steps on one side, as well as the list of parts and some tips for installing for like this compared to a whole notebook that we have to open and keep flipping pages, it's all right here. We also need some Torx bits and Allen bits, a pair ratchet as well as a Flathead screwdriver for installing the hose clamp. So it's very minimal amount of tools that we need. First thing we need to do is remove our tailgate cables for that.
We use the Torx bit one bolt up here, we'll have another one on the side of the tailgate. With the top removed, we'll go ahead and remove this bolt that's on the tailgate itself.We're ready to install the Gate King. When we go to position this, make sure that the pin is up on this arm, that's facing our cab. And then the silver plate here is facing towards the inside of our bed. And then the long, the long arm with this clip that sticks straight out that one is next to our tailgate like this. I'm going to install the top bolt first. So it's going to be the larger of the two. We'll put our, nope. I'm going to install the top bolt first so it's the larger of the two bolts and we will put our slides plate in place, the bolt through. And then we're on the other side, we're going to add the spacer for the larger bolt and then our two washers. And then before we start installing this, we're also going to add some thread locker and that is going to help keep our bolt in place for when we're driving down the road and we have the vibration from the road. Thread it by hand. Then We'll grab our ratchet here, tighten it down.Here at the lower end we'll put our spacer in place. Put the bolt through. We'll add just a little bit of thread locker before installing this bolt. You might have to lift your tailgate up just a little bit to get this started. So you don't have any pressure on that bolt. Again, though we'll thread it in as mu

Информация по комментариям в разработке