👀Watch all the videos in this series: https://www.verisurf.com/port-reverse...
💡Learn more about the Performance Engine Builder Package: https://www.verisurf.com/hardware/mas...
📄 Request a quotation: https://www.verisurf.com/contact-us/
🔴Subscribe to this channel: https://www.youtube.com/c/Verisurf?su...
👍Click the like-button on all new videos.
🔔Turn on notifications for new videos!
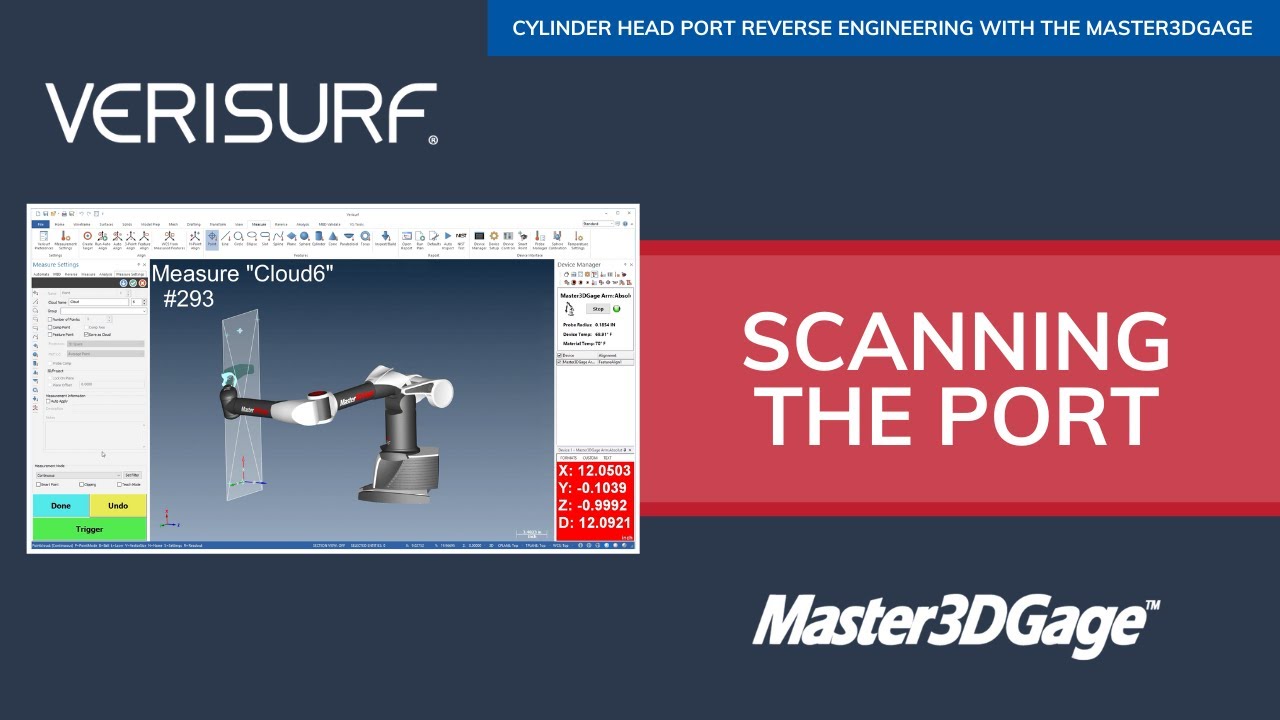
In this video, we’ll use the Master3DGage to scan the inside of one of the cylinder-head ports. The arm and cylinder head should still be set up as they were during the alignment. If either has moved, the alignment should be repeated before we continue.
We’ll use the probe to scan a point-cloud on the flow surface of the port. Let’s choose point-mode, and then choose continuous measurement-mode to save the points in the form of clouds, starting with cloud 'one'. Next, we’ll use the device trigger to begin scanning. We won’t use filtering during measurement; we’ll record at the maximum data rate, and then filter the clouds during editing.
As we 'scan' the surface, the goal is to create a dense point-cloud. We can achieve this by scrubbing the port in both the direction of airflow, and in a cross-section pattern, 'perpendicular' to the flow-direction. We’ll scan from the first end as far as we can, without the shaft contacting the head and causing the probe to lift off the surface. When we reach the limit, we’ll press the device trigger again to end the scan and save cloud1.
Next, we’ll reorient the arm joints to allow us to scan from the other end of the port, making sure that both the arm and the cylinder head remain fixed. We’ll then start by scanning around the port opening. We’ll continue by working our way 'into the port', one surface at a time, starting with the bottom. The pattern of measurement is not critical, but it helps to take a systematic approach in order to achieve complete coverage.
Next, we’ll scan one of the sides. The terms top, bottom, and side are relative to the orientation of the cylinder head; they make sense here because the port has a roughly rectangular cross section. We’ll continue by scanning the top in a side-to-side pattern. We can move the probe between surfaces by dragging it, which simply records more points, or we can finish a cloud before lifting the probe to begin a new scan. Finally, we’ll scan the other side using an up-down motion. When we’re finished with the primary surfaces, we’ll fill-in any spots that need additional coverage.
If we can’t reach far enough into the port to complete the scan, we’ll continue from the 'first' end. We’ll then repeat the process as necessary, alternately filling-in from both ends. Finally, when we’re satisfied with the coverage, we’ll choose finish to end measurement. We’ll then highlight the individual point-clouds. Right-click. and choose tools, merge points and clouds. We don’t need the individual clouds, so we’ll delete them.
Let’s simplify the screen by hiding the features… and the device. We’ll then fit the screen in ISO view. Next, we’ll rotate the view to inspect the point-cloud, looking for areas of poor coverage. If we notice any gaps, we can choose point mode. And fill in the scan with additional measurements. We’ll periodically pause to check our progress. When we’re satisfied, we’ll choose finished to end measurement, and then merge the point-clouds, as before.
After viewing the point-cloud a final time, we’ll save the model. In the next video, we’ll edit the point-cloud to remove stray data and prepare it for meshing.
#verisurf #headporting #engineporting

Информация по комментариям в разработке