https://www.shutterbuggs.com/ - In this video I’d like to quickly walk you through Camera Raw, show you where all the tools and panels are, and just give you some sort of clear idea on how to navigate around the software, and also show you what are the types of things that you’ll be using most often. In future videos we’re going to go in more depth and detail over how to use those tools and those panel adjustments to get better results for your photography.
To begin with, you’ll notice up in the top left hand corner you’ll have the tools menu. This has a range of different tools that are available to you when you’re editing your photographs, the first being the zoom tool which is fairly self-explanatory. It allows you to zoom in on your photo.
You’ll also notice in the left hand bottom corner that you have the magnification setting here. You can select the zoom level that you’re after, and you can also use the plus and minus icons there to do that for you. So, you have those.
You also have the move tool. The move tools allows you just to basically move your image around. That’s very useful when you’re making adjustments to have a look around, especially if you’re doing spot removal and things like that to find those different areas.
Another way to get into this tool, say you’re on the zoom tool or any other tool for example, if you hold down the space bar that’ll bring up the actual hand tool as you can see here. That’s a shortcut to using that tool itself.
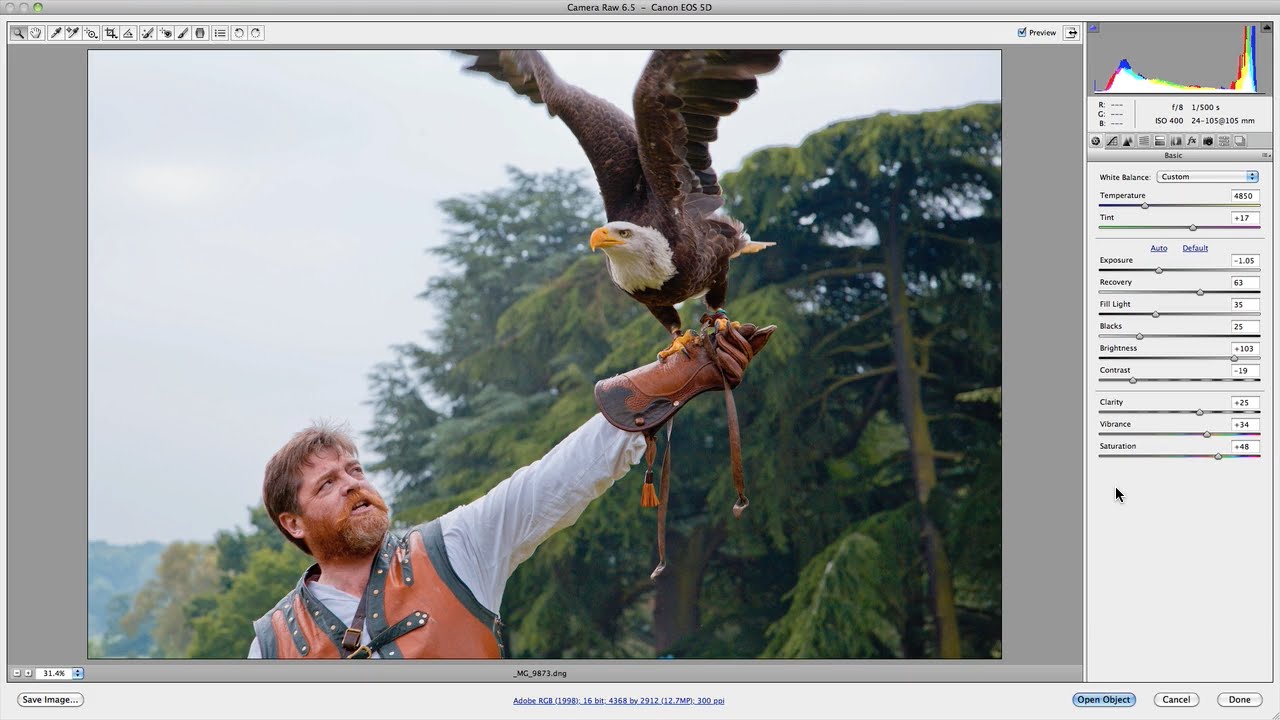
Now, you have a couple of other different tools. Let’s just fit this to view again. You have the white balance tool which allows you to adjust the white balance of your image by selecting different areas that you believe are neutral within your image. For example, this white shirt should be fairly neutral. And, you need to sort of play around with it in order to get the results that you’re happy with.
You have the color samplers. This allows you to place color samplers on your actual image in order to analyze particular values when you’re making your adjustments. This is extremely useful when you’re doing color balances if you want to make sure you don’t have color shifts in certain areas like your highlights, your grays, or your blacks, for example.
Along with that you also have the target adjustment tool. The target adjustment tool allows you to make adjustments to your image via the parametric curve or the hue, saturation, and luminance panel, or the actual grayscale mix. These are quite neat, because it allows you to make adjustments just by clicking and dragging with your mouse.
It doesn’t really do anything different other than allowing you to make those adjustments with your mouse. It is quite interesting, and it is quite useful in some particular cases. But, we’ll go into that in a future video.
Let’s reset that. Now let’s go to the top again. You have the crop tool. That’s quite self-explanatory. You can crop your image to any particular format that you’re after and also rotate and whatnot.
You’ve also got a drop down menu there. It allows you to choose from different ratio formats and also set up a custom one where you can actually choose to set your own particular crop in a ratio, in pixels, inches, or centimeters.
Along with the crop tool you have the straighten tool. This is quite good if your horizons aren’t straight and you want to quickly straighten them. All you do is you drag that along your horizon and you let it go. Then, it’ll crop your image and adjust it accordingly to the actual horizon line that you’ve created. So, you can do an extreme thing like that.
Along with that we have the spot removal tool. This is quite neat for allowing you to remove blemishes, and dots, and spots, and also doing cloning in your images. You can go in and utilize it for a range of different applications, but it is quite useful especially with camera imperfections.
I know for Canon cameras, for example, you end up with dots that come from the sensor in your images. I think I can see one there. Let’s just take a quick look. As you know… Yes. There are a couple there. If I just dive in here for a minute, and let’s say we increase the contrast and we drop the exposure down, there you go. There’s an obvious one.
As I was saying, camera imperfections that you’ll have here, you can click on that. You can enlarge the actual radius of the area that you’re going to be adjusting. As you can see there, just place the red one over the area that you want to fix and then place the green one over the area that you want to use to replace that. As you can see there, a simple adjustment has now removed that spot.
For more information visit us online at https://www.shutterbuggs.com/

Информация по комментариям в разработке