Click for more info and reviews of this MORryde RV Steps:
https://www.etrailer.com/Accessories-...
Check out some similar RV Steps options:
https://www.etrailer.com/dept-pg-Acce...
https://www.etrailer.com
Don’t forget to subscribe!
/ etrailertv
Full transcript: https://www.etrailer.com/tv-review-mo...
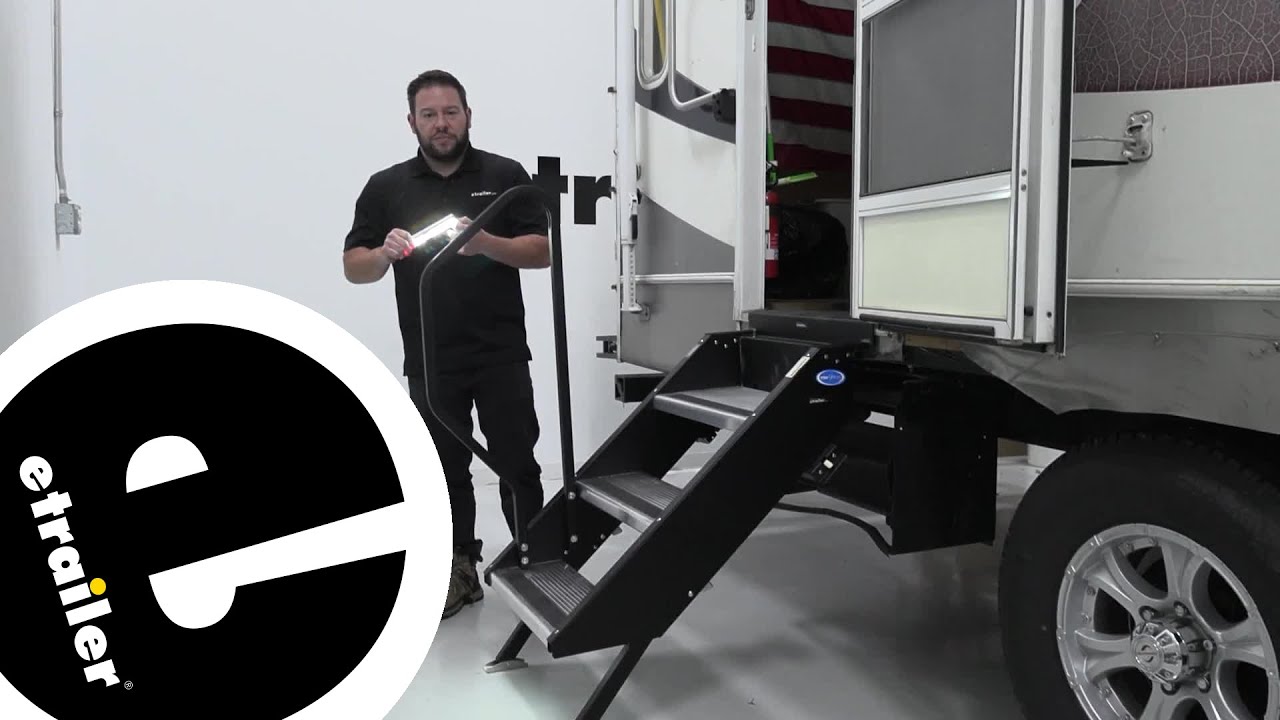
What's up everybody It's AJ with etrailer.com. Today we're gonna be checking out this MORyde LED light strip for RV steps. So it's gonna have a magnet here on the back with a bracket, that you're gonna attach to the bottom steps. So this one, you get two of them in the back. I got in my hand here, I'll turn this off. We've got the one here on the bottom step and that's going to be there.
That's there for if you're using your camper at night time, you can see that bottom step. That way you don't slam your shin right there. When you're going to step up, you can easily see that step up and get in there. Let's check it out. Take a look under here under our bottom step.
This is where we mounted the bracket, and it's where our light is. We got 10 LEDs here, five on each side. We've got the motion sensor here in the middle. It's really bright. We have the light on here in the bay.
You can see it pretty fine with the lights on. So it's going to be even brighter when we turn the lights off and now I can take it and turn it off and show you. You just unclip it like that. You got the magnet strips here on the back of that bracket or on the front of that bracket, excuse me. And you can just easily detach that.
That way if you need to replace the triple A batteries, it takes four triple A batteries per light. And so you can easily just put those here in this part, and then you can replace them like that, close it back up. I like that the end doesn't come disconnected. It's attached there. So you don't have to worry about pushing out. If you set that aside and lose it, that it'd be exposed all the time. It doesn't work like that. So I like that. And then you got, because of this portion here, you can just attach it to that magnet underneath the step. This is with the lights off in our bay. You can easily see underneath the step. You can see my boot there. I'm not going to be able to miss that step. Now with all that light coming down on there, I'm pretty impressed with how bright it is. I really like it. I think that's going to help us out a whole bunch on just visibility when you're climbing up the steps. Now we're going to test the auto settings. So you can either turn it on or put it on auto, that way it detects when there's motion nearby, and will shut off during the day. So you don't have to worry about wasting battery. So it's on auto. Now I can just put my foot there, it turns the light on. Just like that. Now our lights still on auto mode. So we want to make sure it doesn't turn on during the day. Cause it is underneath the step there could be shadows, like how good is that motion sensor So I'm waving my foot right in front of it. The lights not popping on at all. So you can be rest assured that the lights not gonna go on during the day and waste any of your batteries. Overall, I was really impressed with the light. You know, there we're some things that I was a little iffy about, like the motion types, or like how does well does that really work And can it really detect if it's daytime or not But seeing underneath that step, and moving my foot in front of it, it not turning on makes me a little bit easier, or I dunno, not as mad about it using four triple A batteries. I'm like, okay, well these are going to last because it's only gonna turn on when I'm near the step, and only stays on for a little bit before it shuts back off. One other thing about it is it's not waterproof, but again, it's underneath these big steps. I don't think water is really going to get to it. I don't think that's really going to be a problem. It's worth it. Not to hit my shin on that bottom step. Also really easy to install and they give you the bracket and the hardware. You just need a screwdriver, check out how we did it. Now we're looking under here on the bottom step and that's what we're going to attach our bracket to add our light. So we just come under here, and I need the step right in the middle. There's going to be this channel, kind of point out with my hand. Now you're going to take the screw and put it through the bracket. And you're just going to screw in to that open channel. It sounds a little weird, but the screw bites in there really easily, you see I'm just using a screwdriver. It goes right up in there and holds it just fine. So now with that in place, I'm going to add that other one and tighten it down as well. Now we'll go ahead and peel back the backing on our magnets and now it's going to stick to this plate. So I'm just going to get it lined up The bes

Информация по комментариям в разработке