FF4 I always thought was a pretty strong realm, what with Kain, Ceodore, Barbariccia ATB-sync, Rydia, Edge... but this one really puzzled me at first. I tried my hardest with my typical physical team + Lilisette approach using a near complete Kain (missing second glint+), a complete Ceodore, and then each of Barbariccia, Pecil, and Edge, and just couldn’t get the damage I needed in phase 3. Kain is a meter hog but hits like a truck at 40k x 7 hits... but that’s without any Bahamut rage. The high hit count on his dragoon abilities (and C1 of sync2) just distribute the damage too much so that no one hit breaks over 20k in phase 3.
I tried every physical combination I could think of, but just couldn’t muster the damage toward the end of the fight. And when Kain runs out of glint+ + AASB1, he’s stuck wasting turns using the recent usb to restore all his IC game. Eventually I gave up with a physical approach and thought to at last try my luck with a magic team. I brought a stacked Mog and set up Barb, Edge, and Rydia to have at it, and after some routing and resets galore, I finally managed to beat a Bahamut without a battery on the team! I’ve used a battery in every single Dreambreaker and Bahamut until now, so it admittedly wasn’t feeling natural at first, but I got the hang of how to abuse Mog’s damage buffs, setting up a series of four 70% fever-arcane magic damage turns in a row (with anti-fullbreak aasb2 thrown in between the third and fourth).
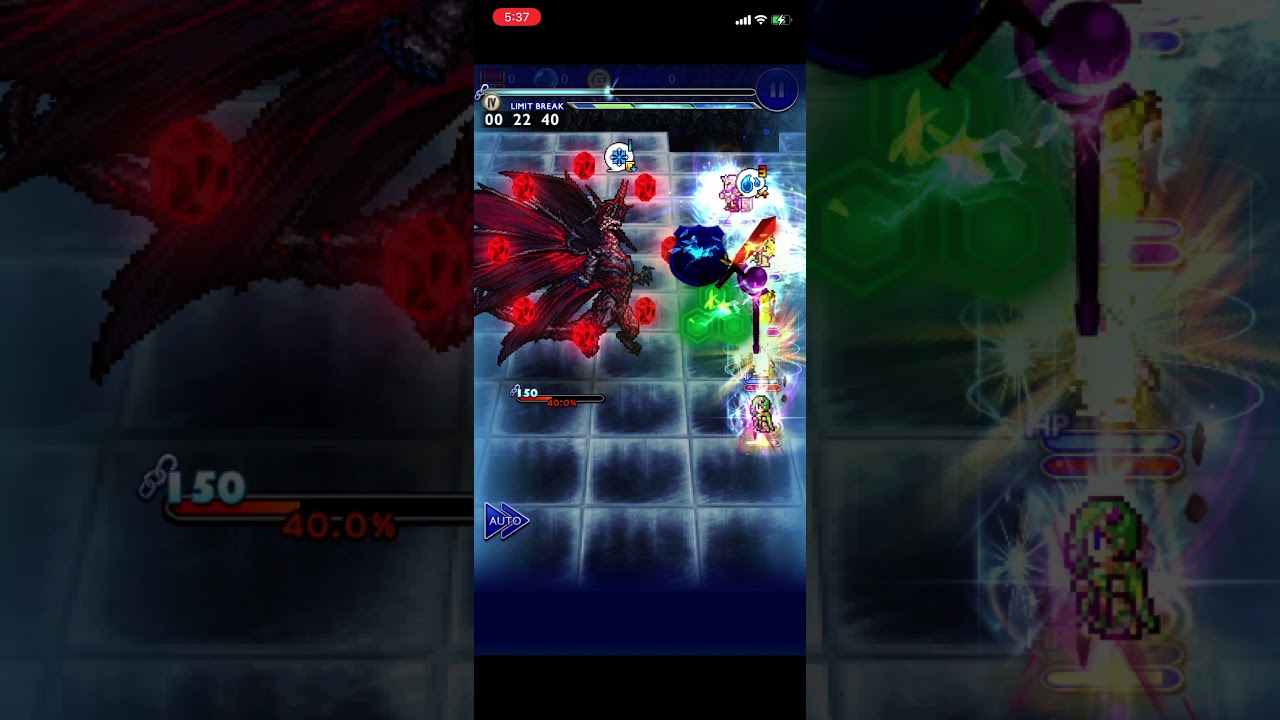
Routing-wise, this was a puzzle in setting up the usual soul break in phase 1, and triggering phase 2 with enough time to have made meter to have soul breaks fire off for slots 1, 2, and 3, before Bahamut wipes a bar of their meter away. Once I got that down, it was a question of then ending phase 2 before Bahamut similarly would remove 2 bars of meter from slots 4 and 5. Edge couldn’t keep up without ace striker, but his AASB broke rage consistently even without a damage-buff materia, so I focused on his meter gain over damage. Rydia’s soul breaks lined up well for one in each of the first two phases, as did Porom’s.
For Mog, I realized that Porom healed well enough that I didn’t need to bother with his LM2 heal-chase (though I tried several parties where Mog was basically the main healer alone, either beside Pecil or Ceodore as a healing smite spammer, and Mog couldn’t keep up). Mog’s sequence of 3 soul breaks was AASB1 first, to set up fastcast magic, and to prepare the damage-buff chase for use later in phase 2. I stalled from using Mog’s third dance, which would trigger fever rhapsody, by using his Sync and glint+2 (heal), and then made sure to trigger the chase using a non-C1 command. Then it was C1 spam to pile on the fever rhapsodies in a row to end phase 2, with just enough meter to Anti-fullbreak AASB2 at the start of phase 3.
Edge’s arcane was super weak for some reason, but it still broke rage3 and set up Barb to hit a max-damage limit overstrike thereafter. Overall, an oddly difficult realm to synergize a party with, despite having several individually strong toons. Also note how crazy broken Rydia’s Sync+AASB1+ BM combo
is under fever rhapsody - 6 hits + 6 hits + 6 hits + 5 hits, all at or near 30k cap.
Soul breaks used:
Edge: glint+1 (enelement), glint+2(damage buff), AASB, Sync, Arcane
Barbariccia: Sync, AASB, Limit break overstrike
Porom: glint+ (proshellhastega), AASB, Sync
Mog: glint+1(HP bubble), AASB1 (fever breaker), Sync, glint+2 (heal), AASB2 (anti-fullbreak)
Rydia: True Arcane (only initial activation), AASB1, Sync-Earth

Информация по комментариям в разработке