Click for more info and reviews of this Sylvania Vehicle Lights:
https://www.etrailer.com/Accessories-...
Check out some similar Vehicle Lights options:
https://www.etrailer.com/fitguidevl.htm
Search for other popular Ford Focus parts and accessories:
https://www.etrailer.com/vehicle/2011...
https://www.etrailer.com
Don’t forget to subscribe!
/ etrailertv
Full transcript: https://www.etrailer.com/tv-install-s...
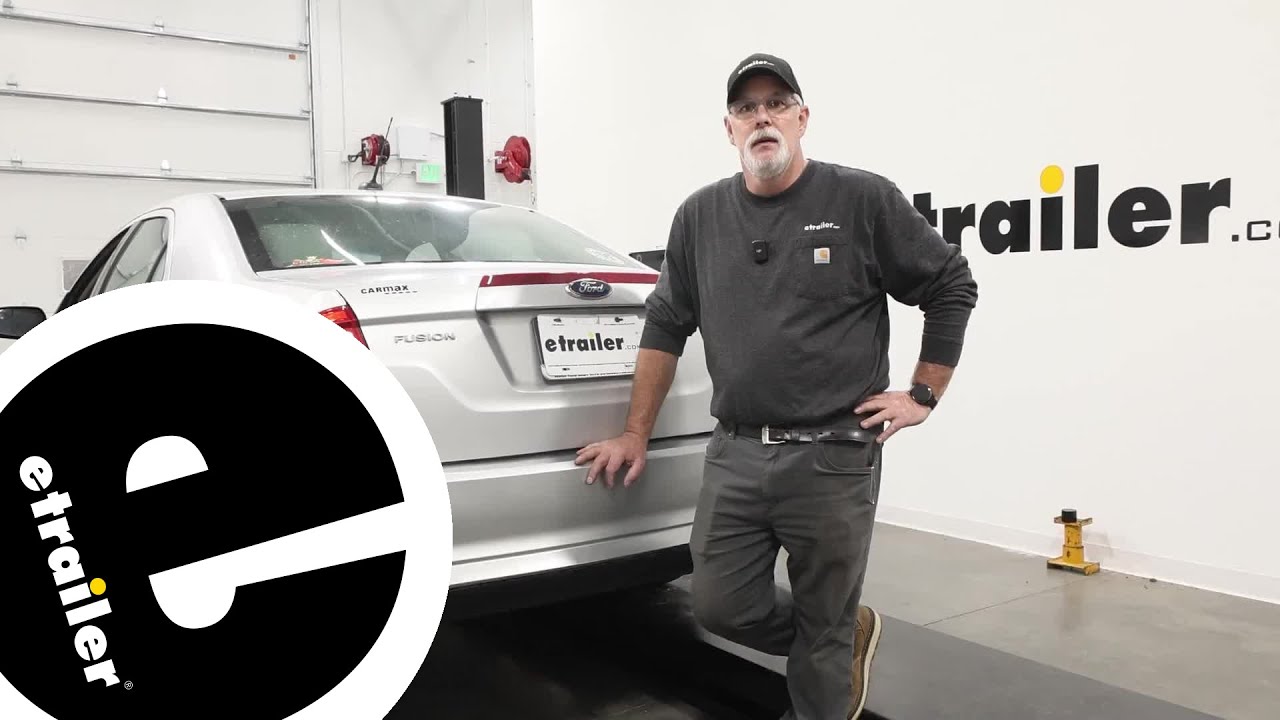
Hi, everyone, Bruce here at etrailer. Today we're gonna take a look at and install the Sylvania load equalizer on our 2011 Ford Fusion. You may be wondering what a load equalizer even is. Well, you may need the load equalizer if you're putting in LED taillights and turn signals, because is what'll end up happening is your LEDs will sit there when you turn your turn signal on and they'll actually hyper-flash, which means they're gonna flash very fast. So is what this resistor does is it slows that down, it puts them back to normal. Also, if you don't have the load equalizer installed, you could get a popup on your screen saying, "Hey, your taillights are out," when they actually are not.
So if you're looking to go ahead and do LEDs on your taillights, I highly recommend the load equalizer as well. With that being said, the installation is actually pretty simple. They give you everything you need to go ahead and do it, but if you don't wanna do that yourself, check out our dealer locator on etrailer.com. But if you do wanna do it and follow along, stick around, I'll show you how. To begin our installation, we do need to remove some plastic pieces here.
It's laying right here, we already have it removed because we've already finished the driver's side signal, and we're moving onto the passenger's side. But once you get this off, all you need to do is just fold this back, and we need to get access to our LED lamp that's put in here, and it's right here. All we're gonna do is twist this counterclockwise and go ahead and pull it out. Now we're gonna go ahead and remove the plug off of the light. And it's just got a little push pin here.
And sometimes you might have to get a screwdriver or something up under here to get that off. And just lift up on it a little bit, and go ahead and pull the plug off. The next thing we need to do, we need to get a tester light, because we need to go ahead and find the turn signal. And we've got three wires here, and we're gonna go ahead and test these to find out which wire is actually our turn signal, and that's the one we need to tap into. We've got our turn signal turned on, so we're going to go with the, looks like purple and pink wire is what we'll end up tapping into.
So we do have these nice clips that they give us to go ahead and tie into our wiring here. So basically we're just gonna put that over the top of our turn signal wire, and then we're gonna take one wire from our resistor and we'll put it on the other side. And we can go ahead and close this lid. And give it a good squeeze. I like to use a pair of pliers to do that, just so we make sure we get a good connection. Now, our other end here, we're just gonna go straight to ground. And we're just gonna find a good ground spot in here on the body panel. And we're just gonna screw that right down on there. And then keep in mind this piece here, our actual resistor, this is aluminum, and we need to make sure we go to metal because that will get hot. Now we're just gonna go ahead and grab some self-tapping screws, and we're gonna screw our resistor right into the body here. (drill whirring) That's good and tight. Now all we need to do is take another self-tapper, and we're just gonna run that right to ground. (drill whirring) All we need to do is take our bulb, go ahead and plug that back in. (bulb clicking) Put it back in its socket, and go ahead and turn it clockwise and it'll lock into place. Now, let's go ahead and test the signal and make sure it's working. Once you go ahead and test your lights out and there is no more hyper-flashing, in other words, real fast flashing on your turn signals, this does complete our installation of the Sylvania load equalizer on our 2011 Ford Fusion. I'm Bruce, thanks for watching.

Информация по комментариям в разработке