#nokneadbread #bread #homemade bread #breadrecipes
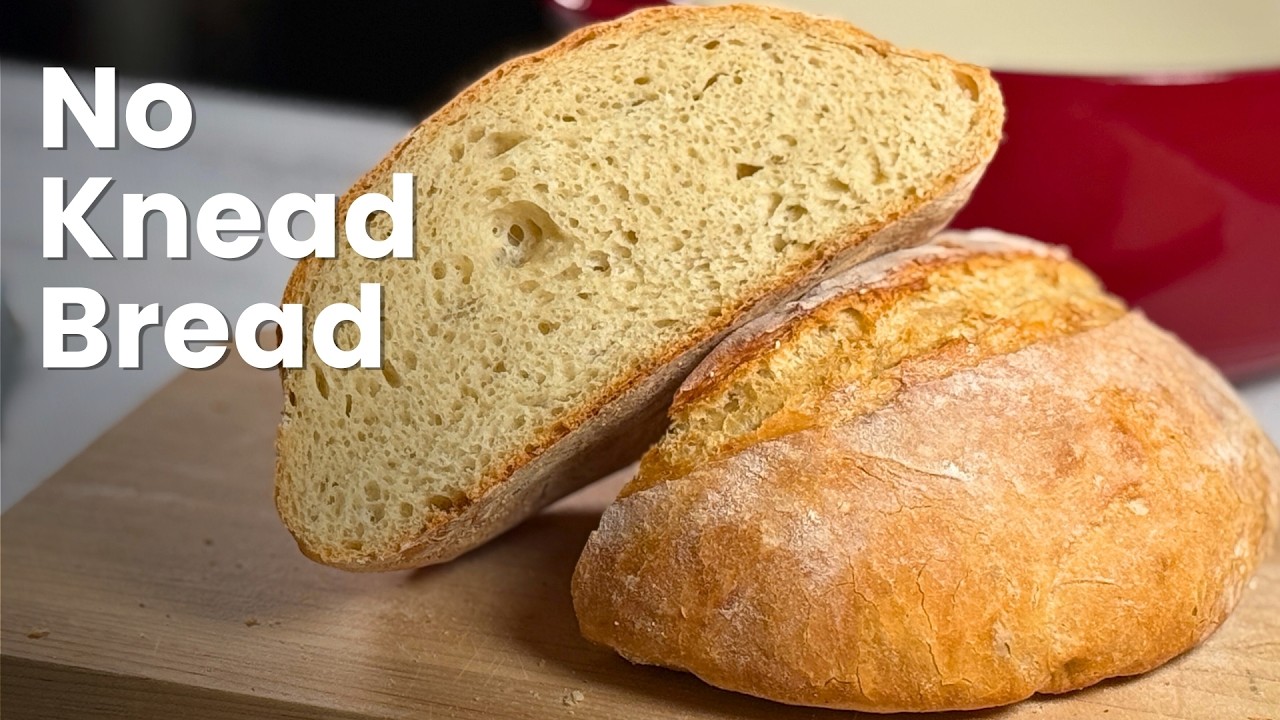
Make bakery-style rustic bread with just flour, water, yeast, and salt — no kneading required! This easy Dutch oven bread gives you a crispy golden crust and soft, airy inside with minimal effort. Perfect for beginners and homemade bread lovers.
No knead Bread Recipe
Prep Time: 15 minutes
Inactive Time: 3 hours 20 minutes
Bake Time: 45 minutes (30 minutes covered + 15 minutes uncovered)
Ingredients:
Bread flour – 500 g (approx. 3½ cups)
Water – 375 g (approx. 1⅔ cups)
Instant yeast – 8 g (approx. 2½ tsp)
Salt – 10 g (approx. 1½ tsp)
Rice flour and bread flour - for dusting the countertop and banneton round basket
Semolina 1–2 tbsp (for dusting the Dutch oven)
Note: For best and most consistent results, measure ingredients using a kitchen scale.
Instructions:
1. Measure the ingredients
Measure all the ingredients using a kitchen scale for accuracy and consistent results. Measuring by weight ensures precision, as cup measurements can vary depending on how the flour is scooped.
2. Mix water and yeast
In a large mixing bowl, add warm water. Use a food thermometer to check the temperature. The ideal temperature for this recipe is 100–105°F (I used 102°F). Add the instant yeast, stir gently, and let it sit for 2–3 minutes until a light foam forms on top.
3. Make the dough
Add the bread flour and salt to the bowl. Do not add salt directly into the yeast-water mixture, as it can affect yeast activity. Mix using a spatula, wooden spoon, or your hands until fully combined. The dough will be sticky and wet. Use a silicone scraper to clean your hands if needed.
4. Rest the dough
Cover the bowl with plastic wrap or a clean kitchen towel. Let it rest for 20 minutes so the flour can fully absorb the water.
5. Stretch and fold
After 20 minutes, perform the stretch-and-fold method. Stretch one side of the dough upward and fold it over to the opposite side. Imagine the dough has four sides and repeat this process on all four sides. Keep a small bowl of water nearby and dip your hands in water before handling the dough to prevent sticking. This method helps develop gluten and strengthens the dough structure.
6. First rise
Cover the dough tightly. Place the bowl inside the oven with only the oven light turned on to create a warm, draft-free environment. Let the dough rise for 1½ hours, or until it looks puffy. The oven light keeps the temperature slightly warm (around 75–80°F), protects the dough from drafts, and helps the yeast work steadily and evenly. If your kitchen is already warm (70–75°F), you can let it rise on the counter. You may also place the bowl inside a turned-off microwave with a cup of hot water beside it to create gentle warmth. Avoid direct heat.
7. Shape preparation
After rising, the dough should have doubled in size. Lightly flour your countertop. Use a scraper to gently remove the dough from the bowl. The bottom side of the dough will now be facing up.
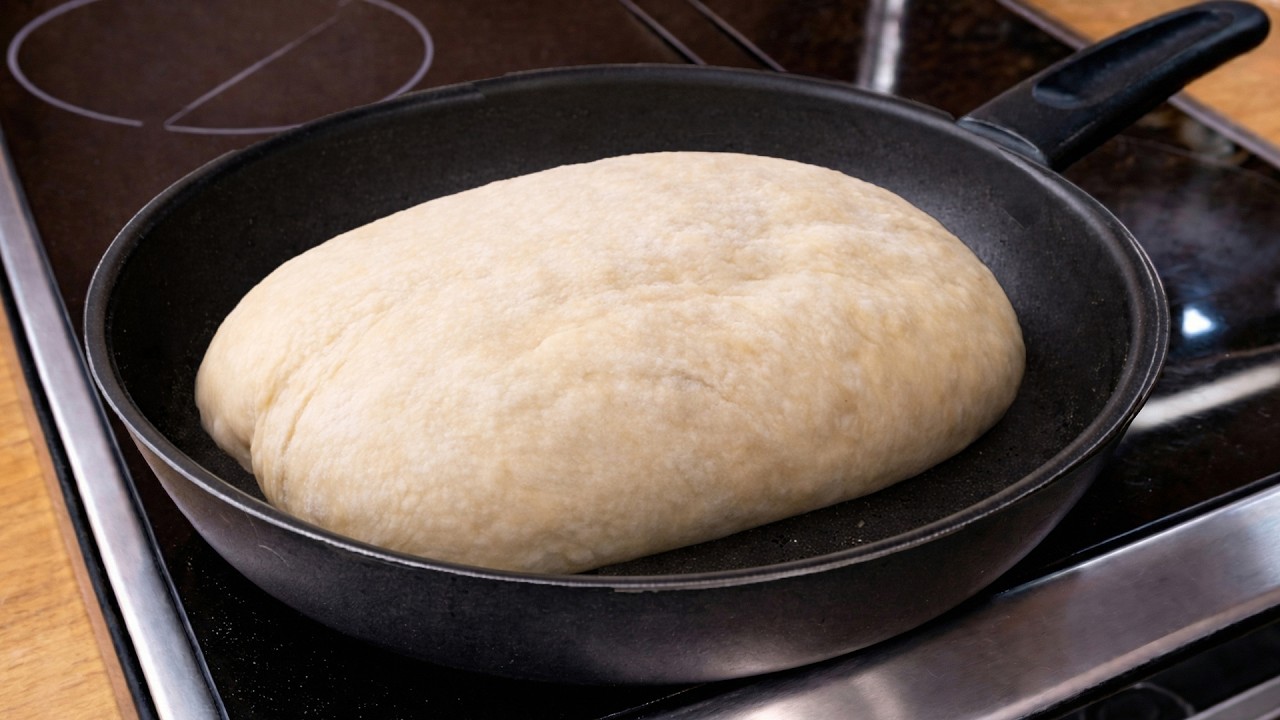
8. Shape the dough
Gently stretch the dough into a rough rectangle. Fold the top third toward the center, then fold the bottom third over it like folding a letter. Turn the dough vertically and repeat the folds to build structure. Next, gently pull the edges of the dough toward the center, folding each side inward until the dough tightens. This creates surface tension and forms a smooth, round shape.
9. Final proof (Banneton method)
Line a banneton basket with a clean kitchen towel and lightly dust the towel with rice flour to prevent sticking. If you do not have rice flour, you can use all-purpose flour, although rice flour works better because it absorbs less moisture. Place the shaped dough seam side up into the basket and cover it with another kitchen towel. Let it proof on the countertop or in a warm place, but not inside the oven since you will need to preheat it. Proof for about 1½ hours, or until the dough looks puffy and slightly airy.
10. Preheat the oven
After about 1 hour of proofing, preheat your oven to 450°F. Place the Dutch oven inside with the lid on so it heats thoroughly.
11. Bake
Once proofing is complete, gently transfer the dough onto a floured surface so the seam side is down and the smooth side faces up. Score the top with a sharp knife to allow steam to escape. Carefully remove the hot Dutch oven using oven mitts and sprinkle a little semolina at the bottom to prevent sticking. Carefully place the dough inside, cover with the lid, and bake at 450°F for 30 minutes. Remove the lid and bake for another 15 minutes until the crust is golden brown.
12. Cool
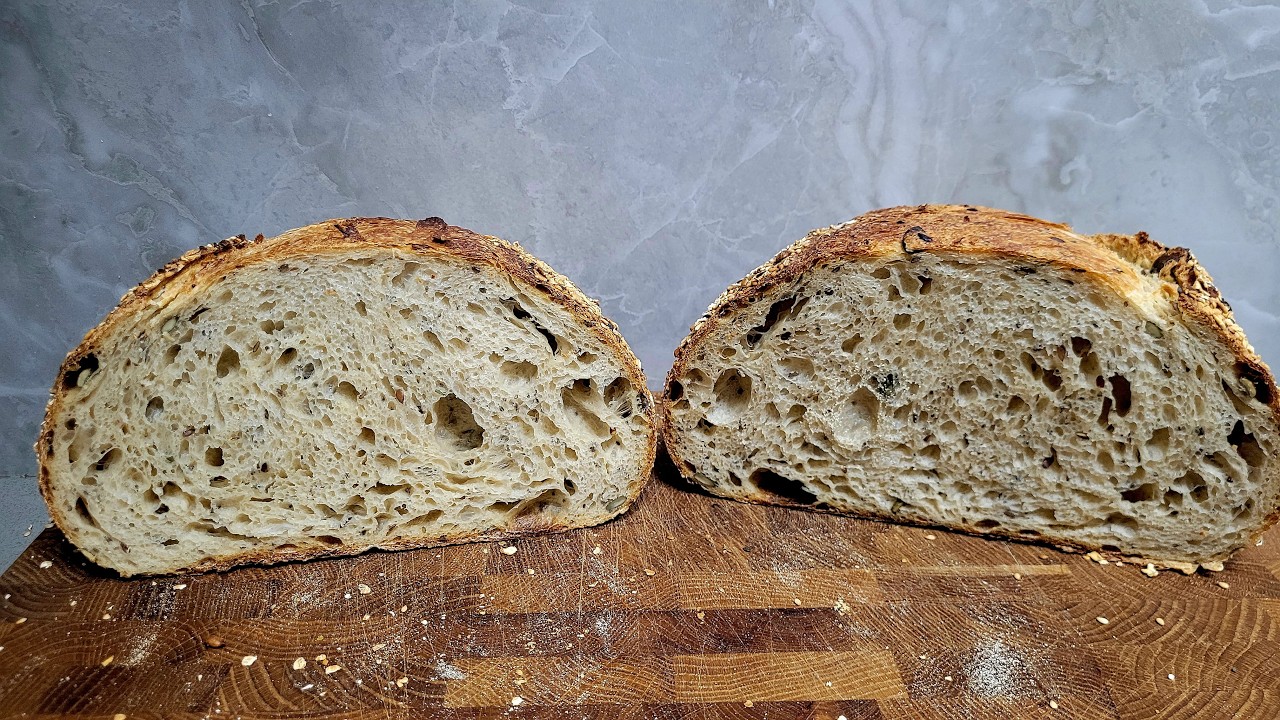
Remove the Dutch oven from the oven and carefully transfer the bread to a cooling rack. The bread will sound hollow when tapped on the bottom, which indicates it is fully baked. Allow it to cool for at least 1 hour before slicing.
Thanks so much for watching — subscribe for more easy recipes @veggieville_delights


Информация по комментариям в разработке